Electric Dirt Bike Handlebars Crooked After a Fall: Alignment or Bent Parts?
If the handlebars look crooked after a fall, do not assume the bar itself is bent. The front wheel may be turned relative to the bars because the fork tubes shifted slightly in the clamps, a bar mount moved, the handlebar deformed, or a steering component was damaged. The safe response is to stop riding, preserve evidence of the impact and identify which reference points no longer agree before any hardware is loosened.
Start with the current Valtinsu user manual for the fitted model. If the exact clamp sequence, torque or inspection limit is not documented, leave disassembly to a qualified technician. Riders still comparing layouts can use the electric dirt bike collection only as a configuration reference, not as a repair specification.
First decide whether the bike is safe to move
Power the bike off and inspect it where it rests. A cosmetic scuff is different from a steering system that binds, a brake hose pulled tight, a cracked clamp or a wheel that no longer tracks. Do not perform a ride test merely to “see if it straightens out.” A front-end fault can change steering or braking without much warning.
● Do not ride if a handlebar, riser, clamp, fork tube, axle area or frame surface is cracked, sharply creased or visibly displaced.
● Do not ride if the steering catches, becomes heavier in one direction, will not reach both stops, or changes cable tension.
● Do not ride if the front brake drags, the hose is stretched, a control is loose, or the tire contacts another part.
● Arrange transport if any structural condition is uncertain.
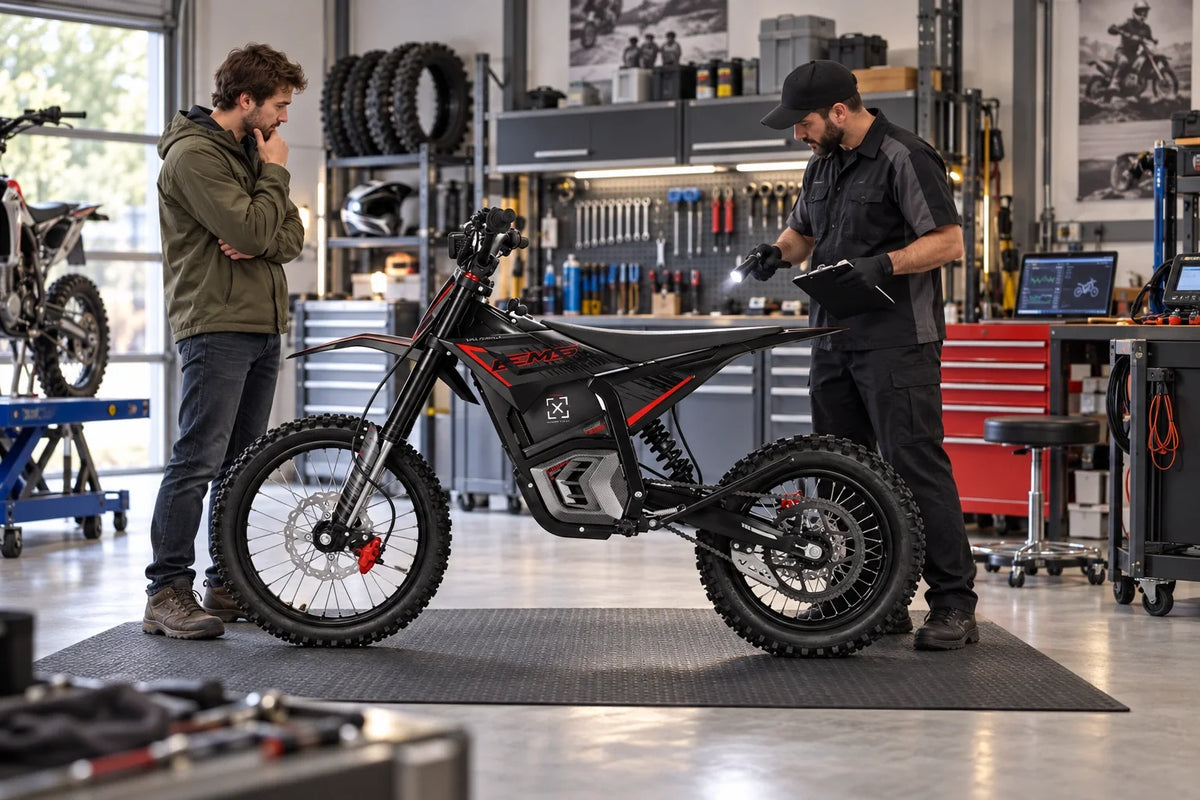
 Figure 1. Official Valtinsu EM-5 product image accompanying first decide whether the bike is safe to move. Confirm component locations and limits against the exact model page and current manual.
Create a reference before touching the clamps
Photograph the motorcycle from the front, above the bar, both sides and directly behind the front wheel. Center the tire by sighting along it, then compare the bar center mark, top clamp, fork caps and front fender. Do not use the fender alone as the reference because plastic can move independently. Removable tape across known centerlines makes small offsets easier to compare after service.
Check the bar and mounts
Look along the straight sections of the handlebar and compare left and right rise, sweep and distance from the seat. Inspect the control area, bar ends, risers, mounting bolts and clamp gaps. A bent bar may show asymmetric sweep, a local crease or a control that cannot return to its former position. Clamp gaps that differ from the documented arrangement can indicate movement, but they are not permission to retorque blindly.
Check the fork and wheel relationship
Compare the wheel plane with both fork legs and the top clamp. Signs of fork twist can include bars that look offset while the individual parts appear straight, uneven visual alignment through the crowns, or a fender that changed position during the impact. A bent fork tube, axle, wheel or triple clamp can produce similar symptoms, so “fork twist” is a hypothesis until runout and alignment are checked correctly.
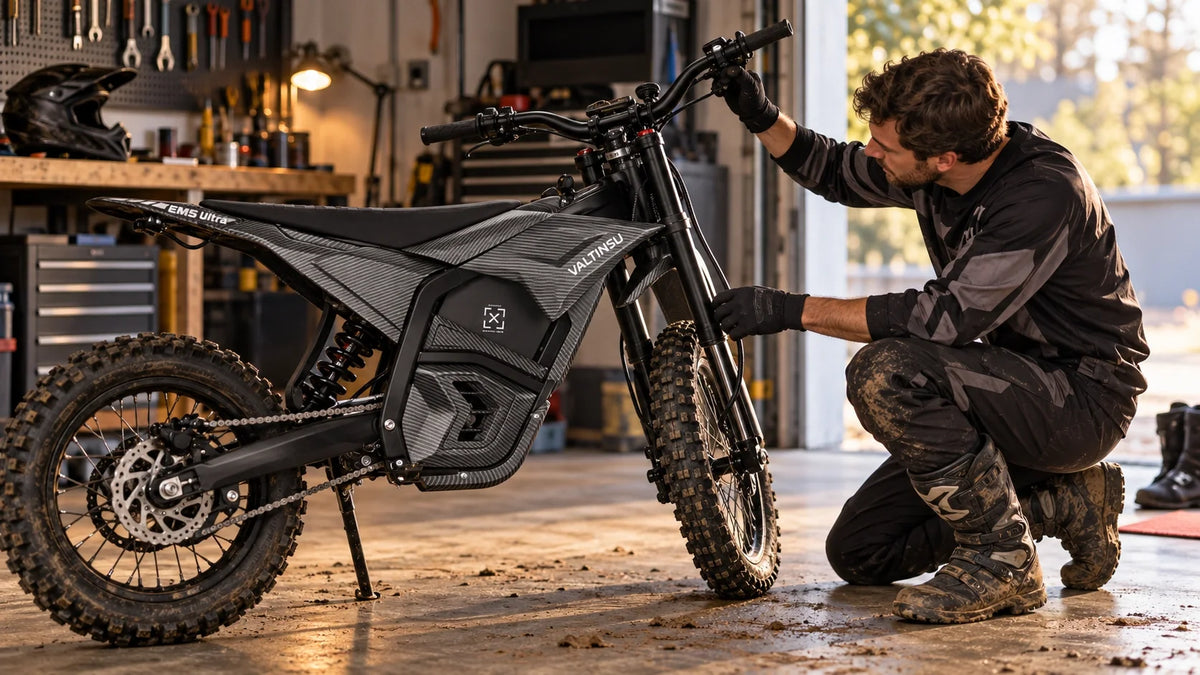
 Figure 2. Official Valtinsu EM5 Pro product image accompanying create a reference before touching the clamps. Confirm component locations and limits against the exact model page and current manual.
Separate a shifted assembly from a bent part
A shifted assembly usually has smooth steering, undamaged hardware and geometry that returns to its previous reference when aligned using the manufacturer’s sequence. A bent part retains an asymmetric shape or causes binding, runout or repeated misalignment. The distinction cannot be made by forcefully holding the wheel between the knees and twisting the bars; that can move components without proving that they are undamaged.
 Figure 3. Official Valtinsu EM5 Pro product image accompanying separate a shifted assembly from a bent part. Confirm component locations and limits against the exact model page and current manual.
Inspect cables, brake hose and controls through full steering
Turn the bars slowly from stop to stop with the bike powered off. Watch the throttle, display cable, brake hose, switch wiring and any brake-cutoff wire. None should become taut, pinch between parts or pull a connector. Confirm that the throttle returns and the brake lever operates consistently at left, center and right positions. A power interruption or brake signal that appears only during steering indicates a cable-routing problem that must be resolved before riding.
 Figure 4. Official Valtinsu EM5 Ultra product image accompanying inspect cables, brake hose and controls through full steering. Confirm component locations and limits against the exact model page and current manual.
Use the manual’s alignment and torque sequence
If the manual provides an owner-level alignment procedure, follow its order exactly. Clamp fasteners work as a system; loosening or tightening them in a guessed sequence can create uneven clamping or conceal damaged threads. Use a calibrated torque wrench, the specified condition of the threads and the exact value for the fitted parts. After tightening, mark fastener positions so post-ride movement can be seen.
Verify without turning the test into a gamble
● Repeat all static references and full-lock cable checks.
● Apply the front brake and compress the fork lightly; listen and feel for movement or binding.
● Roll the bike by hand and confirm that the wheel rotates, the brake releases and the steering remains smooth.
● Only after the static checks pass, perform a walking-speed straight-line test in an open level area.
● Stop immediately if the bike pulls, the bars settle off-center, a control changes or any marked fastener moves.
 Figure 5. Official Valtinsu EM-5 product image accompanying verify without turning the test into a gamble. Confirm component locations and limits against the exact model page and current manual.
Document a technician-ready handoff
Record the side of the fall, surface, approximate speed, point of first contact and every visible mark. Include the before-adjustment references, the result of the steering and cable checks, and whether the symptom returns after a short roll. Precise observations help a technician decide whether to measure bar straightness, fork-tube alignment, wheel runout, steering bearings or clamp condition.
Do not confuse visual symmetry with dynamic alignment
Plastic bodywork, a fender, display bracket or handguard can move in a fall and make a straight front end look crooked. Conversely, a wheel and bar can look close enough in a photograph while a bearing, axle or fork part is damaged. Use several mechanical references and confirm smooth movement under light load. If the front wheel shows side-to-side runout, the tire bead is uneven, the fork compresses with a catch, or the steering changes when the front brake is applied, stop the owner-level alignment attempt and request measured inspection.
After any approved adjustment, compare the same photographs rather than relying on memory. Record the torque wrench setting, manual revision and whether fasteners were clean, lubricated or thread-treated as specified. A result that looks centered but requires a different clamp gap or repeatedly shifts after small bumps is not a successful repair.
A final check should also confirm that the steering stops contact as designed and that no new gap, chip or witness mark appears around the steering head. Stop if the bar can move independently of its mount or if applying the front brake produces a click at the steering head.
Confirm the Chassis Before Correcting Alignment
After a fall, crooked bars can come from harmless fork twist, shifted mounts or a genuinely bent component. Use the Valtinsu electric dirt bike collection to confirm the exact bike before loosening hardware or ordering parts. Compare symmetry, steering movement and visible damage first, and use only model-specific torque values.
For a Valtinsu EM-5 Pro, the product page gives support a clear model and chassis reference when you submit photos of the bars, clamps, fork legs and front wheel. It does not prove that a part is straight. Any crack, binding steering, damaged control, misaligned wheel or repeated movement after correction makes this a service issue rather than a cosmetic adjustment.
Use Valtinsu's electric dirt bike crash inspection resources as the broad ownership reference, then confirm every procedure, part and limit against the exact model page and current manual.
Quick Decision Table
|
Post-fall finding |
Possible condition |
Next step |
|
Fender looks crooked only |
Plastic reference may have shifted |
Compare wheel, fork and bar references before adjustment. |
|
Bars and wheel disagree |
Front-end assembly may have rotated |
Use only the manual-approved alignment sequence. |
|
Steering binds at one point |
Bent part, cable tension or bearing issue |
Do not ride until the source is identified. |
|
Alignment changes again |
Structural part or clamp may be damaged |
Have the front end measured professionally. |
FAQs
Can fork tubes twist without being bent?
Yes. A low-energy fall can allow clamped parts to shift, but smooth appearance alone does not prove the tubes, clamps or axle are straight. Use the documented alignment procedure and inspect for binding or recurring offset.
Use this quick classification:
● Shifted reference: the fender, number plate, lever perch or bar position moved without confirmed structural damage.
● Alignment issue: fork and clamp components rotated within their permitted adjustment relationship.
● Bent part: a bar, tube, clamp or mount remains asymmetric, binds or changes position after correction.
Can I ride home with slightly crooked bars?
Not until brake operation, steering travel, cables and structural parts have been checked. If the cause is unknown or the steering does not remain centered, arrange transport.
How can I tell whether the handlebar is bent?
Compare left and right geometry from fixed references and look for a local crease or permanent asymmetry. A proper straightness check may require removal and measurement by a technician.
Why do the bars become crooked again?
Recurring offset can indicate insufficient or incorrect clamping, damaged hardware, a bent component or an unresolved alignment fault. Stop repeating visual adjustments and have the front end measured.
Follow this check sequence:
1. Power off the bike and compare the wheel, fork tubes, clamp and handlebar center marks from several viewpoints.
2. Turn the bars slowly through full lock and check cable, hose and control clearance.
3. Use only the manual-approved alignment sequence; stop when deformation, binding or repeat movement remains.
Should I loosen the triple-clamp bolts myself?
Only if the current model manual gives an owner procedure and you have the correct tools. Otherwise the sequence, torque and safety consequences make this professional service.
Can I straighten bent electric dirt bike handlebars at home?
Do not cold-bend handlebars back into shape. Bending can weaken the material and hide a crack or permanent deformation. Replace a confirmed bent bar with the correct part and inspect the clamps, controls, cables, steering and front wheel for related crash damage.
Can a crooked front fender make straight handlebars look misaligned?
Yes. A shifted fender or number plate can create a false visual reference, so do not align the steering to plastic bodywork alone. Compare the front wheel, fork tubes, upper clamp, handlebar center marks and lever positions from several viewpoints. Turn the bars slowly and check for binding or cable tension. If the wheel and bar relationship changes after a careful manual-approved alignment, or a tube, clamp or bar shows deformation, stop riding and have the front end measured rather than forcing it straight again.


Looking for something else?
Electric Dirt Bike Loses Power Under Load: Causes and How to Fix It
LEARN MORE
Electric Dirt Bike Bolt Torque Checklist: What to Check and Where the Numbers Come From
LEARN MORE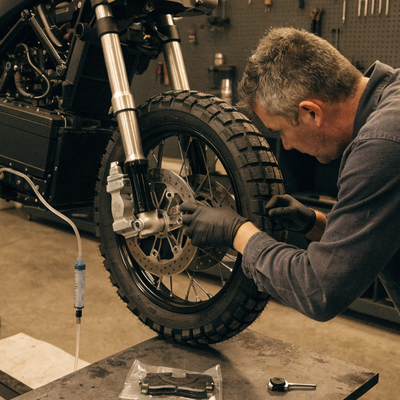
How to Bleed Electric Dirt Bike Brakes Safely
LEARN MORE
Electric Dirt Bike Throttle Not Working: What to Check First
LEARN MORELooking for something else?
Electric Bike Battery Not Charging? Work Through This Before You Buy a New One
LEARN MORE
Electric Dirt Bike Error Codes: What They Mean and What to Check First
LEARN MORE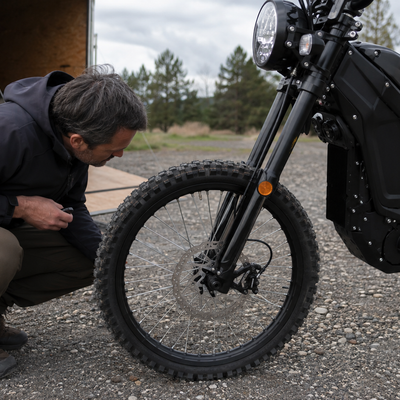
Electric Dirt Bike Brake Rotor Rubbing: Diagnose the Cause Before Adjusting
LEARN MOREYou may also like
VALTINSU EM-5 Off-Road Electric Dirt Bike
VALTINSU EM-5 Pro Off-Road Black Electric Dirt Bike
VALTINSU EM-5 Pro Green Electric Dirt Bike
VALTINSU EM-5 Ultra Electric Dirt Bike
VALTINSU EM-5 & EM-5 Pro Combo
Further reading
Electric Dirt Bike Trailside Power Loss: Recovery Plan When the Battery Is Dead
Electric Dirt Bike Fall Riding on Wet Leaves: Grip, Hidden Obstacles and Braking
How to Lift a Fallen Electric Dirt Bike Without Hurting Yourself or the Bike