Electric Dirt Bike Headlight Not Working: Switch, Connector or Light Unit?
When an electric dirt bike powers on and drives normally but the headlight does not illuminate, the problem is usually limited to the lighting control, an accessible connector, the visible harness, the lamp assembly or a low-voltage supply path. Start by confirming how the light is supposed to be activated on that exact model. Some systems use a dedicated switch; others use a display-button command or only operate in a particular power state.
Do not begin by applying outside power to the lamp or probing unknown wires. That can damage the light or controller and erase useful diagnostic evidence. Keep the bike parked for testing. If the headlight flickers as the handlebars move, if wiring is pinched or exposed, or if other controls fail at the same time, stop riding until the harness is inspected.
First confirm the symptom is limited to the headlight
Power the bike on in the normal sequence and note the display, throttle response only in a safe stationary setup, brake cutoff behavior, horn and any tail or marker lights. A single failed headlight points to one branch. Several accessories failing together suggest a shared switch, connector, ground or supply path. A display that restarts or the whole bike shutting down is not a lamp-only problem.
Record the exact state: completely dark, dim, intermittent, flickering over bumps, working only at one steering angle, or showing moisture inside the lens. These patterns are more useful than the conclusion "the bulb is bad." Many modern lights use integrated LEDs and do not have a conventional replaceable bulb.

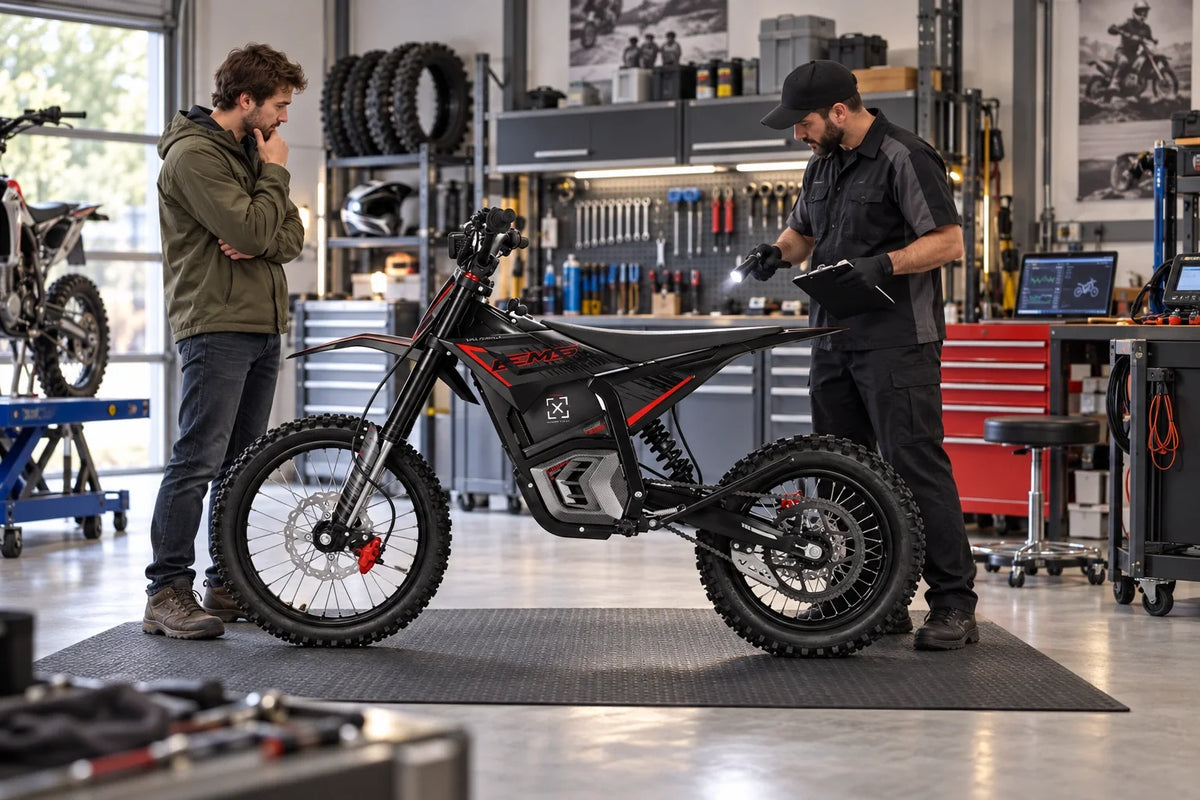
Figure 1. Official Valtinsu EM5 Pro product image accompanying first confirm the symptom is limited to the headlight. Confirm component locations and limits against the exact model page and current manual.
Confirm the control and operating conditions
Read the lighting section of the Valtinsu user manual. Follow the exact button hold, switch position and bike power state. Check whether the model provides high and low beam, a daytime light or an automatic mode. If the light worked before a display or control change, note that history but do not alter software settings that are not documented.
A control that feels loose, has impact damage or changes the light when touched is relevant. Do not spray cleaner into the switch. Photograph the control and describe whether it clicks or moves normally. If a fall moved the brake lever, throttle or switch cluster, the harness may also have been pulled.

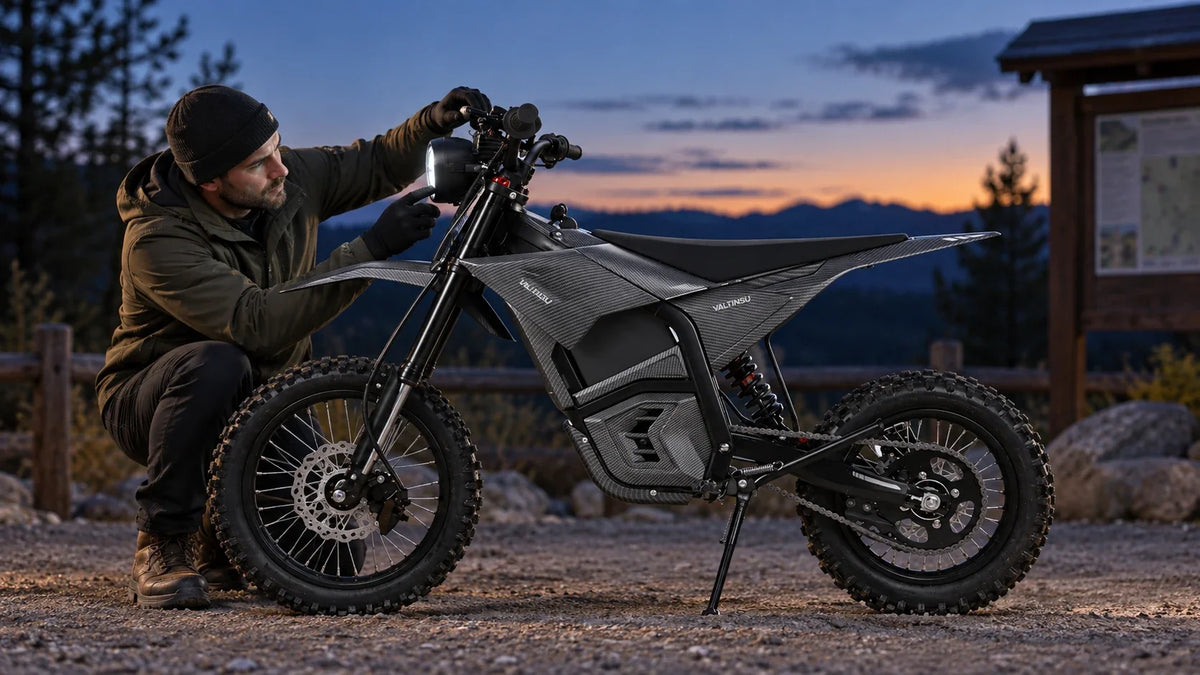
Figure 2. Official Valtinsu EM5 Pro product image accompanying confirm the control and operating conditions. Confirm component locations and limits against the exact model page and current manual.
Inspect the visible path from switch to light
● Power the bike off and remove the key or disable the system as the manual requires.
● Turn the handlebars slowly from center to each side while watching cable slack. The harness should not become taut, pinch between parts or rub a sharp edge.
● Find only the connectors that the manual identifies as user-accessible. Check that each is fully seated, aligned and dry.
● Inspect the lamp cable where it enters the housing and where the harness passes the steering head. Look for crushed insulation, an exposed conductor, a stretched sleeve or an impact mark.
● After any simple reseating permitted by the manual, power on and test without riding.
Water-resistant connectors still need correct seating and intact seals. If a connector contains moisture, corrosion, bent pins, heat discoloration or a damaged locking feature, do not scrape or bridge the contacts. Keep the system off and contact support.

Figure 3. Official Valtinsu EM5 Ultra product image accompanying inspect the visible path from switch to light. Confirm component locations and limits against the exact model page and current manual.
Use the failure pattern to narrow the area
The light never turns on
Recheck the activation method and shared accessories. A single dark lamp with normal control behavior can point toward the lamp or its direct connector. Multiple dead accessories increase the likelihood of a shared supply or control issue. Only a model-specific wiring diagram can confirm the circuit.
The light flickers over bumps
Intermittent bump-related operation suggests movement at a connector, damaged wire or lamp internals. Do not continue riding to reproduce it. A short stationary video while gently moving only the accessible cable can document the trigger. Avoid bending the wire sharply or pulling at the connector body.
The light changes when the bars turn
Treat this as a wiring-routing fault, not a lamp replacement decision. The harness may be stretched, pinched or broken internally near the steering head. Because steering changes the condition, the same fault can affect control wiring. Keep the bike out of service until the routing and connections are checked.
Condensation or water is visible
A small transient fog and standing water are not the same condition, but neither should be guessed away. Photograph the lens, note recent washing, rain or water crossing, and check the lamp seal externally. Do not open a sealed unit unless the manufacturer authorizes it.

Figure 4. Official Valtinsu EM5 Ultra product image accompanying use the failure pattern to narrow the area. Confirm component locations and limits against the exact model page and current manual.
When replacement makes sense
Replace the lamp or control only after the activation method, accessible connector and visible harness are checked. Confirm the exact voltage, connector, mount and control compatibility. The compatible accessories page can identify supported components, but direct support should confirm any uncertainty.
Do not substitute a brighter third-party light by connecting it to an unknown accessory lead. Extra current demand, incorrect polarity or incompatible control electronics can damage the system. If auxiliary lighting is desired, use an approved installation and separate the upgrade decision from diagnosis of the original fault.
What to send support
● Bike model and order or serial information.
● A photo of the headlight, switch position and each user-accessible connector.
● Whether the display, horn and other lights work.
● Whether the failure changes with steering position, cable touch or vibration.
● Any recent crash, transport, wash, rain exposure or accessory installation.
● The exact charger and battery state are relevant only if the whole low-voltage system behaves abnormally.

Figure 5. Official Valtinsu EM5 Pro product image accompanying what to send support. Confirm component locations and limits against the exact model page and current manual.
Use the Correct Model Baseline for Lighting Checks
Headlight controls, connectors and power paths are model specific. The Valtinsu electric dirt bike collection helps owners confirm which bike they have before testing or ordering parts. Keep the diagnosis limited to accessible switches, wiring and connectors; a light that looks compatible is not automatically correct for the bike's voltage or connector.
The Valtinsu EM-5 with light is the relevant product reference for the 48V/23.4Ah EM-5 configuration. Use that page together with the current manual when identifying the original lighting setup. If the light fails after impact, water exposure, heat or a wiring short, stop replacing parts by trial and ask support to confirm the correct assembly.
Use Valtinsu's electric dirt bike lighting and ownership resources as the broad ownership reference, then confirm every procedure, part and limit against the exact model page and current manual.
Quick Decision Table
|
Observed behavior |
Likely area |
Owner action |
|
Headlight only is off |
Lamp, switch or lighting connector |
Confirm operating conditions and inspect accessible connections. |
|
Light changes with steering |
Harness routing or intermittent connector |
Stop riding and document the steering position that triggers it. |
|
Several accessories fail |
Shared low-voltage circuit or system supply |
Treat it as more than a lamp-only problem. |
|
Burning smell or heat marks |
Electrical damage |
Power down and arrange qualified inspection. |
FAQs
Why does the bike run when the headlight does not?
The propulsion system and lighting branch can fail independently. A switch, lamp connector, visible harness or light unit may be affected while the battery, display and motor still operate.
Use this quick classification:
● Lamp-only fault: propulsion and display remain normal while the headlight alone stays off.
● Lighting-branch fault: the headlight changes with the switch, steering position, bumps or a visible connector.
● System-level fault: several accessories fail, the display resets or propulsion behavior also changes.
Can I ride during the day with a failed headlight?
Follow the product manual, trail rules and local requirements. Even when a light is not legally required, a steering-related wiring fault or exposed cable can affect more than visibility and makes the bike unsafe to ride.
Should I test the lamp with another battery?
No, unless a manufacturer procedure specifically instructs it. An incorrect voltage, polarity or connection can damage the lamp and create a safety risk.
When should the light unit be replaced?
Replacement is reasonable after the correct control sequence, accessible connector and visible wiring are verified and the lamp is confirmed incompatible with repair. Match the exact model, mount, connector and electrical specification.
Follow this check sequence:
1. Confirm the exact operating condition that should activate the light and test the normal switch sequence.
2. With power off, inspect the accessible lamp, cable routing and connectors for damage, looseness or tension.
3. Record which functions fail together and contact support instead of substituting unapproved lamps or wiring.
Why does the headlight flicker when the handlebars move?
Steering movement may be pulling a connector, tightening a cable or exposing an intermittent break near the steering head. Stop riding, power the bike off and compare visible harness slack at center and at each steering limit. Do not keep moving the bars to recreate a full power interruption.
Does condensation inside the headlight mean it must be replaced?
Not automatically, but recurring moisture, pooled water, corrosion or reduced light output indicates a sealing or housing problem. Do not open a sealed unit unless the manual permits it. Photograph the moisture pattern and ask support whether the assembly should be dried, resealed or replaced.
Can a weak battery cause only the headlight to fail?
It is possible, but a headlight-only failure more often points to the lighting control, connector, wiring branch or lamp unit than to the traction battery by itself. Check whether the display, horn and propulsion behave normally and whether the light changes with steering position or bumps. Do not substitute an unapproved battery or lamp for diagnosis. If several low-voltage accessories fail together, or the bike also resets, stop treating it as a lamp-only problem and report the complete symptom pattern to support.


Looking for something else?
Electric Dirt Bike Loses Power Under Load: Causes and How to Fix It
LEARN MORE
Electric Dirt Bike Bolt Torque Checklist: What to Check and Where the Numbers Come From
LEARN MORE
How to Bleed Electric Dirt Bike Brakes Safely
LEARN MORE
Electric Dirt Bike Throttle Not Working: What to Check First
LEARN MORELooking for something else?
Electric Bike Battery Not Charging? Work Through This Before You Buy a New One
LEARN MORE
Electric Dirt Bike Error Codes: What They Mean and What to Check First
LEARN MORE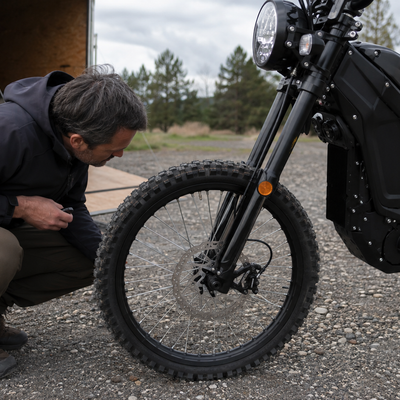
Electric Dirt Bike Brake Rotor Rubbing: Diagnose the Cause Before Adjusting
LEARN MOREYou may also like
VALTINSU EM-5 Off-Road Electric Dirt Bike
VALTINSU EM-5 Pro Off-Road Black Electric Dirt Bike
VALTINSU EM-5 Pro Green Electric Dirt Bike
VALTINSU EM-5 Ultra Electric Dirt Bike
VALTINSU EM-5 & EM-5 Pro Combo
Further reading
Electric Dirt Bike Trailside Power Loss: Recovery Plan When the Battery Is Dead
Electric Dirt Bike Fall Riding on Wet Leaves: Grip, Hidden Obstacles and Braking
How to Lift a Fallen Electric Dirt Bike Without Hurting Yourself or the Bike