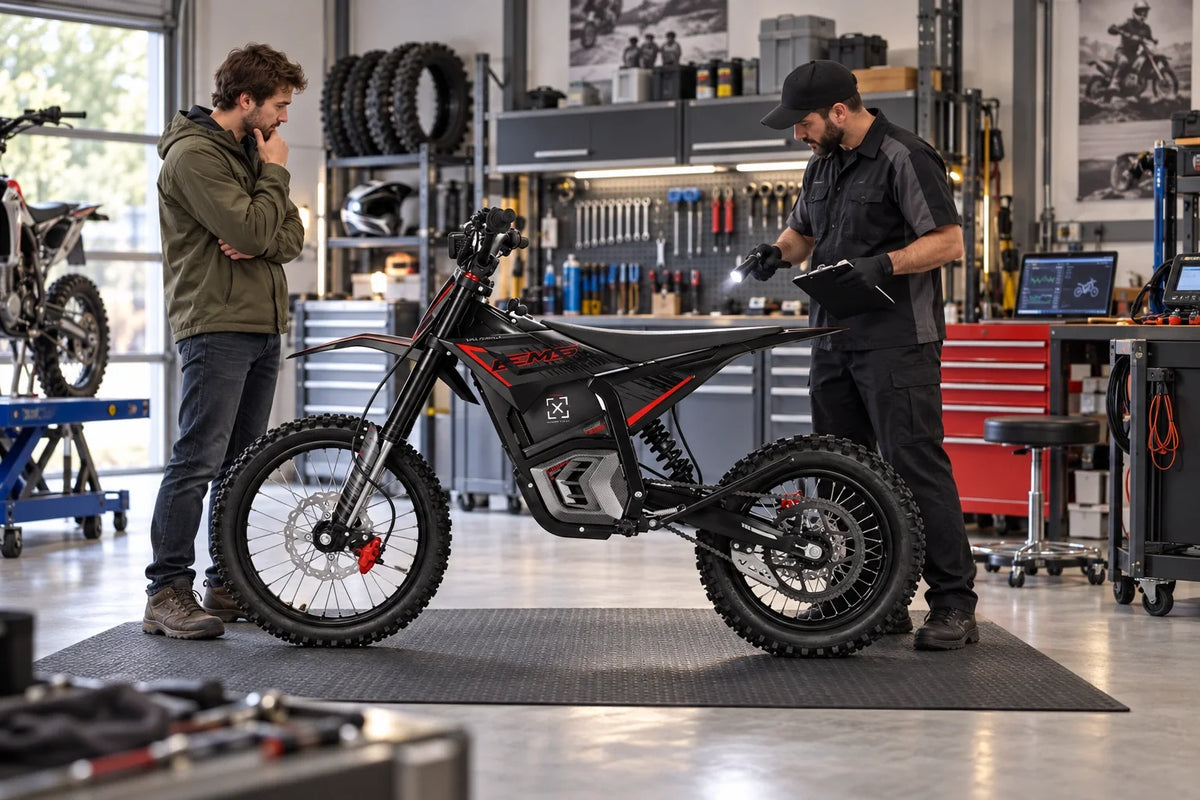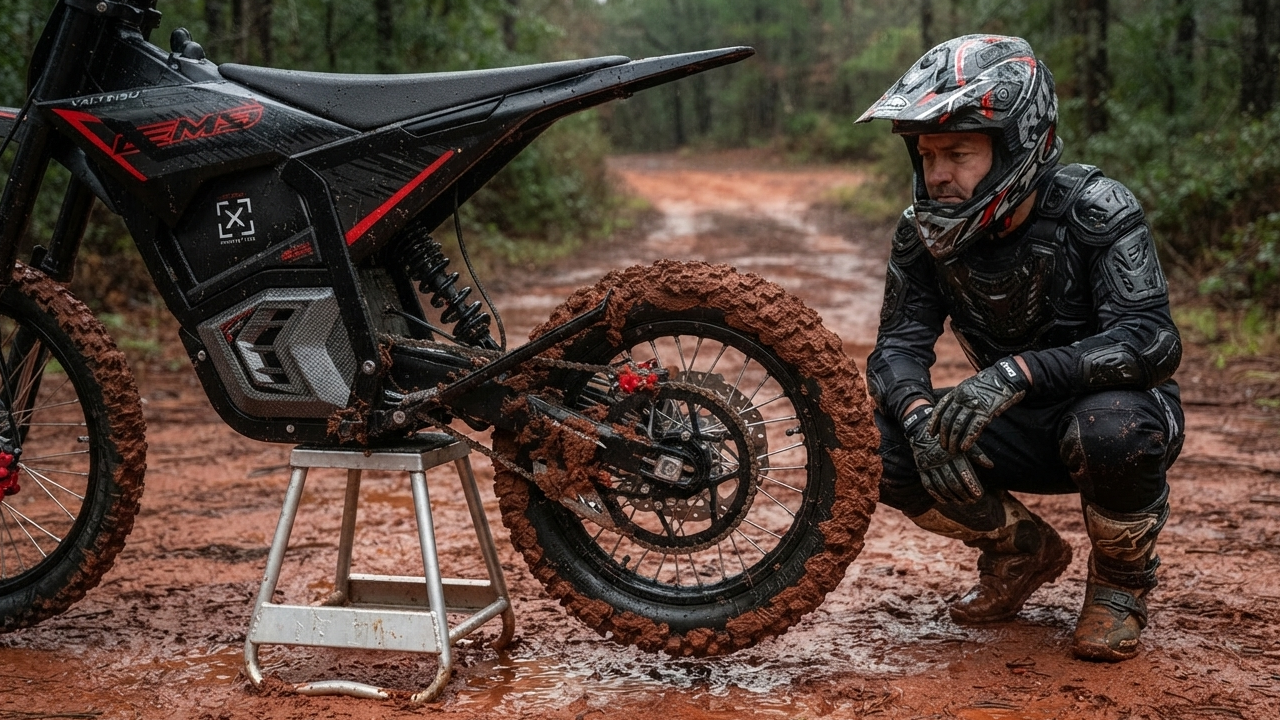
Electric Dirt Bike on Clay Soil: Setup, Technique and Cleanup
Clay-soil traction and packing risk depend primarily on moisture condition, not peak motor output.
Dry, textured clay can offer predictable traction, while saturated or drying clay may become slick, form ruts and pack into tire tread, guards, the chain area and brake components. More motor power does not restore grip when the tread voids are filled.
Before unloading, confirm that the route is open, classify the clay and decide whether the surface can carry traffic without rutting or component packing. Plan prompt cleaning and inspection because packed clay can hide damage and retain moisture around moving parts.
A Clay Condition Matrix You Can Use at the Trailhead
Use the six-condition matrix as a field guide. Clay can change across shade, drainage and elevation, so one route may contain several conditions at once.

|
Clay condition |
What you see |
Grip |
Packing risk |
Damage risk |
Our call |
|
Frozen |
Hard surface, frost in the shade, no give underfoot |
High until it thaws |
Low |
Low frozen, severe after thaw |
Ride only while the surface remains frozen and permitted; leave before thaw |
|
Dry hard |
Pale and dusty, footprints barely register |
Good, slick in polished lines |
Low |
Low |
Go |
|
Crusted |
Firm shell over soft soil, hollow feel, hairline cracks |
Unpredictable, breaks through |
Medium |
High once broken |
Reroute |
|
Moist and tacky |
Dark surface holding a shallow print |
The best grip clay offers |
Medium |
Medium |
Go, watch for change |
|
Saturated |
Standing water, prints filling in, clay on your soles |
Poor, sticky and slick together |
High |
Severe |
Do not ride |
|
Drying and rutted |
Hard channels with sharp edges, soft cores |
Uneven, grabby |
Medium |
High |
Slow, or wait a day |
Crusted clay can be harder to assess than visibly saturated clay. A dry-looking surface may still cover a softer layer, so check representative shaded areas and low points before unloading.
Classify the Clay Before You Unload
A weather app and a dry parking area tell you very little about a shaded climb two miles in.
The Boot Test Comes First

Walk twenty feet off the staging area. Look at your soles. Trail managers use the same signal for tires, and Park City's spring trail guidance says it plainly: if dirt sticks to your tires or shoes, turn around, because the ground is too wet to use.
Other things worth reading on the ground:
- Deep footprints that hold their shape instead of crumbling
- Water standing in low spots, or sitting in old wheel tracks
- Displaced edges along the tread where soil has pushed sideways
- Clay collecting on your boots within a few steps
- Ruts from the last group, still soft in the middle
Do not make a test pass to settle the question. A test pass is the damage.
Shaded and Low Ground Runs Days Behind
Shaded slopes, drainage crossings, and low areas can stay wet after exposed sections appear dry. Boulder Mountainbike Alliance notes that clay-based soils soak water up and hold onto it for a while, which is why a dry hillside proves nothing about the gully behind it.
Check the route profile against the last week of weather, not yesterday's forecast.
Uncertainty Is Not a Tiebreaker
If you cannot confirm what is ahead, that is the answer. Pick another legal route. Come back next week. Turning around at the truck beats dragging a clay-packed motorcycle out at dusk.
Why Clay Flips From Grippy to Greasy
Small Particles, Enormous Surface Area
Under the USDA classification, clay particles measure below 0.002 mm. Silt runs 0.002 to 0.05 mm. Sand, 0.05 to 2 mm. So a clay bed is built from flakes many times smaller than a sand grain, packing far more surface area into the same volume, and that surface bonds readily to water.
Water fills the narrow gaps between those flakes and drains out slowly. Once the gaps are full, the soil gives up the internal friction it needs to hold a tire without deforming.
Sticky and Slippery at the Same Time
Both at once. That is the part that surprises new riders. Wet clay bonds to rubber, guards, sprockets, and caliper bodies while the thin layer underneath shears and slides. A packed tire is the worst of it. Knobs only work when there are open voids beside them to bite an edge. Fill the voids, and you are riding a slick.
Heavy clay can build up on tires, wheels, and around the brake area. If wheel rotation is restricted or braking behavior changes, stop on stable ground and inspect the motorcycle as the manual directs.
Drying Builds Crusts, Cracks and Hard Ruts
Clay can dry unevenly: the surface may firm before the material below it. Walk the route where safe and permitted, and check representative shaded stretches, low points, and old ruts before unloading. If the surface shears, deforms, or will not support the planned load, choose another route.
Clay Setup Checks That Stay Model-Neutral
There is no clay mode. What exists is a short list of checks that apply to any approved electric dirt bike, run in the driveway before you load up.
Tires and Pressure

- Use the manual’s approved tire sizes and casing requirements as the boundary
- Rounded knobs are the tell. Side knobs usually give up before the center does
- Cuts, exposed cords, poor bead seating: replace it, do not ride it
- Pressure comes from the bike and tire manufacturers, then adjusted for rider load, tube or tubeless build, rim protection, terrain and expected speed
- A copied PSI figure that ignores tire size, load, temperature, terrain, and the approved pressure range
No tire is a clay tire. Wider tread spacing clears soil better at the margins. It will not save you on a saturated route.
Clearance and the Six Places Clay Collects
|
Where clay collects |
Early symptom |
What it costs you |
|
Tire voids and rim edges |
Wheels feel heavy, grip fades off |
Traction, then steering |
|
Caliper bodies and rotor gap |
Drag, then no free rotation |
Braking and wheel movement |
|
Chain, sprockets, chain guide |
Grinding noise, tight spots |
Drivetrain wear, thrown chain |
|
Swingarm, skid plate, guards |
Rising unsprung weight |
Handling and suspension travel |
|
Fender gap and fork clearance |
Rubbing at the front wheel |
Front wheel rotation |
|
Motor area and cooling passages |
Heat climbing, power tapering |
Thermal cutback |
Look through those clearances before the ride. Knowing what clear looks like is what lets you spot packed from the saddle.
Power Mode and the Electrical Check
Use a ride mode whose throttle response you already understand. On low-grip clay, abrupt torque can increase wheelspin, so begin with the least aggressive approved setting that still gives predictable control.
- Choose an approved power level you have practiced in controlled conditions
- Abrupt throttle-off or strong regenerative drag can reduce rear-tire stability on low-grip clay; learn the selected mode on easier ground first
- Battery enclosure, charge-port cover, cable runs and connectors get inspected per the manual
- Handlebar controls and the emergency cutoff: test both before you roll
Traction, Braking and Steering Are One System
Treat them as three separate jobs. Clay will find the gap between them.
Speed and Torque
Slow down on ground that can still take a braking load. Not at the edge of the wet section. Braking there puts the load somewhere it cannot go.
Then feed torque instead of snapping it in. The MSF-derived rider manuals that state licensing programs publish make the same point about any slippery surface: a sudden change in speed or direction is what causes the skid. Smoothness is the entire technique.
Braking and Steering Inputs
Progressive pressure. Bike upright wherever the line allows. Squeeze, never grab.
Skip the universal front-versus-rear bias formulas. Clay moisture shifts hour to hour. So does the amount of load a front tire will accept before it goes away.
Eyes on stable open ground. Small bar inputs. A big correction is a request for lateral grip that clay cannot supply.
Ruts and Rider Spacing
Follow an existing rut only when you can see the exit. Cross rut edges at a deliberate angle with the bike loaded evenly. Pick the crossing point early, not mid-rut.
Increase following distance when visibility, braking grip, or the chance of a rider stopping changes. The appropriate gap depends on speed, surface, sightline, and the group’s riding procedure.
When Clay Packs the Bike

If packed clay restricts a wheel or drivetrain, close the throttle and stop on stable ground. Continuing to drive against resistance can damage mechanical or electrical components; follow the manual before clearing or inspecting the bike.
- Stop early. Rising wheel resistance, heavy steering, brake drag, new vibration, or a noise that was not there ten minutes ago.
- Make the machine inert. Follow your model's shutdown procedure before hands go anywhere near wheels, chain, or sprockets.
- Clear only what you can reach. Plastic tools and a soft brush, external surfaces only. Battery, motor and controller housings stay sealed.
- Retreat when the recovery is worse than the walk. Bad footing, active trail damage, or lifting a heavy motorcycle alone in mud. Call it and go get help.
Ruts, Bypasses and Keeping the Trail Open
Legally open and physically ready are two different questions. A route can pass the first and fail the second badly.
Signs the Surface Is Failing
- Tires punching through the crust and exposing wet soil underneath
- Clumps of clay flying off the rear wheel
- Your second pass sitting deeper than your first
- Water starting to pool in the line you just cut
Any one of those, stop. The route is telling you what it can carry today.
Why a Bypass Is Worse Than Turning Around
Riding around a wet section widens the trail, kills the vegetation beside it, and opens a second drainage channel that someone has to close by hand later. Trail groups are direct about it. Friends of the Dillon Ranger District tell users never to go around a muddy patch, because a few seconds of detour can cost volunteers hours of repair work.

Repeat passes do the same damage vertically. One impression becomes a rut, the rut collects runoff, and runoff finishes the job. Do not lap a damaging line for practice. Do not cut a fresh track beside it either.
Expert View
The first short section often reveals whether clay is tacky, saturated or beginning to pack. Walk the surface at the staging area and turn back when clay adheres heavily to boots, deforms underfoot or begins filling the tire voids. Recheck shaded and low-drainage sections because they may remain saturated after exposed ground has dried.
How to Clean Clay Off an Electric Dirt Bike
Begin cleanup within the manufacturer’s washing and storage instructions. Remove clay with the approved method, dry the motorcycle fully, and inspect metal, seals, connectors, brakes, and drivetrain areas before storage.
Step 1: Shut Down and Let It Cool
Power off. Key out where applicable; shutdown procedure followed. Let the motor, brakes, battery area, and drivetrain come down to ambient before water touches them.
Step 2: Lift Off the Heavy Deposits
Plastic tool or soft brush, working large clay away by hand first. Nothing scrapes across brake hoses, cables, seals, wiring, painted surfaces, or flexible guards. Hands stay away from the drivetrain entirely until the bike is inert.
Step 3: Low-Pressure Rinse Only
Soften the rest with low water pressure and patience. Keep the stream off bearings, suspension seals, charge ports, connectors, displays, controller seams and battery joints, plus anything else the manual excludes. Nothing gets immersed.

Valtinsu documentation currently contains different water-resistance references for the EM-5 Pro. Treat the stricter published instruction as the limit, do not submerge the motorcycle, and do not pressure-wash bearings, seals, connectors, or an open charging port; confirm the current model manual before cleaning.
Step 4: Work the Packed Areas One at a Time
Tires, fenders, guards, swingarm, skid plate, footpegs, chain, sprockets, calipers, suspension, cooling passages. A suitable brush, used patiently, beats water pressure that just drives clay deeper into a tight gap.
Step 5: Dry Before Storage
Clean towels plus whatever drying methods the manufacturer approves. Then check where clay and water hide. Recesses, fastener heads, frame joints, behind guards.
Step 6: Restore Lubrication
Clean and lube the chain to the bike or chain manufacturer's spec, then wipe the excess off. Cleaner and lubricant stay off rotors, pads and tire contact surfaces.
Inspect It After the Wash
Clean metal shows damage. Packed clay hides it. That is the real argument for washing promptly.
Brakes, Wheels and Drivetrain
Spin both wheels. Confirm normal free rotation, then work through rotor clearance, pad thickness, tire condition, chain and sprocket wear, guards, and every wheel area for leftover clay.
Electrical and Structural
Battery enclosure, charge-port cover, visible wiring, connectors, frame, fasteners, suspension, seals. Stop riding if you find water intrusion, damage, abnormal heat, warning codes, or any change in braking, steering, power delivery, or sound. Get it looked at first.
Does the EM-5 Pro Suit a Clay Route?
Sometimes. Depends on the clay, not on the badge.
|
What the route demands |
EM-5 Pro figure |
Why it matters on clay |
|
Water exposure limit |
Water-resistance references vary; verify the current manual and do not submerge |
Sets your washing and crossing limits |
|
Wheel setup |
17 in front, 14 in rear |
Confirm approved tire sizes and clearance for the exact model |
|
Braking |
Hydraulic discs |
Progressive feel matters more than raw power |
|
Recovery planning |
287 lb max rated load; curb weight not published on the product page |
Max load is a carrying rating, not the weight you would be lifting out of clay. Confirm the actual bike weight before committing to a solo route |
|
Rider fit |
31.5 in seat height |
Dabs sink in soft clay, so ground reach changes how recoverable a slow tip-over is |
|
Power delivery |
5600W, 177 lb-ft, modes at 26 / 40 / 52 mph |
Mode selection is your traction management |
|
Charge time |
7 to 8 hours |
You are not drying and recharging inside an hour |
Price and peak output do not solve saturated-clay traction. To compare wheel size, weight and ride modes for firmer conditions, review the electric dirt bike collection and the current EM-5 Pro specifications against the legal routes you actually ride.
Match Specs to the Surface
Motor output does not solve saturated soil, inadequate clearance, a seasonal closure, or a recovery plan that exceeds the group’s capability. Evaluate those constraints separately before committing to the route.
Finish the Cleanup Plan First
Classify the clay, then confirm transport, washing space, drying time, inspection, and storage before you buy anything for that route. The user manual and support pages set the washing and water-exposure limits you will be working inside. Chains, brake assemblies and rotors- the components clay wears out fastest- sit in parts and accessories.
How We Put This Guide Together
Manufacturer Figures Only
Product figures in this article are a snapshot of the cited Valtinsu documentation. If pages disagree or a specification is missing, verify the current model manual or obtain written support guidance before using the number for setup or purchase decisions.
Land Managers and Soil Science
Access rules come from Forest Service travel management documents, since routes not shown on a Motor Vehicle Use Map are not open to public motor vehicle travel. Particle sizes, USDA soil classification. Trail damage guidance comes from the groups that actually repair the damage.
What We Left Out on Purpose
There is no universal clay-moisture threshold, tire choice, pressure, safe mud depth or maximum speed. Use the motorcycle and tire documentation, then decide from the actual soil condition, load and route.
Before You Load Up
Confirm legal access. Classify the clay with your own boots. Turn back when the surface starts to fail rather than after it has failed, and stop before packed material restricts anything that rotates. Then clean and inspect promptly. Clay does its worst work after the ride ends.
For neighboring conditions, our separate guides cover hardpack, general mud, rutted terrain, riding in rain, and routine maintenance.
Frequently Asked Questions
Can you ride an electric dirt bike on clay soil?
Yes, when the route is open, the surface is firm enough to support the motorcycle, and the bike can be recovered without damaging the trail. If the clay is saturated, the tires pack solid, or steering and braking become unpredictable, use a dry authorized alternative.
When is clay too wet to ride?
Treat the section as unsuitable when any key condition is unknown or deteriorating. Stop before entering—or at the first stable exit—if you find:
- A closure, standing water, deep ruts, or visible trail damage
- Clay packing into the tires, fenders, chain area, or brakes
- Changed steering, wheel rotation, braking, or electrical behavior
- No practical recovery route that stays on the authorized trail
What tire pressure should I use on clay?
Use the cold-pressure range approved for the exact motorcycle and tire; there is no universal clay PSI. Choose within that range after considering:
- Rider, gear, and cargo load
- Tire construction, approved size, and rim protection
- Whether the surface is hard, tacky, crusted, or rocky
- Temperature and the risk of impact or pinch damage
Which ride mode works best on slick clay?
Use a manufacturer-approved mode with throttle response you have already practiced on firm ground. If a lower-output mode makes power delivery smoother and more predictable, it may be the better starting point, but it does not make saturated clay or a closed route safe.
How should I clean clay off an electric dirt bike?
Follow the model manual and begin only after the motorcycle is switched off, stable, and cool. A safe sequence is:
- Remove loose clay with an approved soft tool; do not force debris into seals or connectors.
- Use only the washing method and water exposure allowed by the manufacturer.
- Keep water away from open charge ports, exposed contacts, bearings, and damaged housings.
- Dry the motorcycle fully, including low points and connector areas that can be inspected safely.
- Lubricate and service only the items and products specified in the maintenance instructions.
What should I inspect after riding on clay?
Inspect before the next ride, and stop using the motorcycle if operation has changed. Check:
- Tire tread, wheel rotation, rims, spokes where fitted, and axle security
- Brake feel, pads, rotors, calipers, and any packed debris
- Chain or belt area, sprockets, guards, and fasteners
- Seals, external wiring, connectors, battery retention, and charge-port cover
Sources
- USDA Forest Service, Motorized Vehicle Use Maps (MVUM) (2026)
- Colorado State University Extension, Estimating Soil Texture: Sandy, Loamy, or Clayey (2024)
- USDA Natural Resources Conservation Service, Soil Texture Calculator (2026)
- Friends of the Dillon Ranger District, Why We Should Avoid Muddy Trails (2021)
- Visit Park City, Tips to Avoid Spring Trail Damage (2026)
- Boulder Mountainbike Alliance, Muddy or Wet? When to Ride, or Not (2023)
- New York State DMV, Motorcycle Manual (2026)
- Valtinsu, EM-5 Pro Electric Dirt Bike Specifications (2026)


Looking for something else?
Electric Dirt Bike Loses Power Under Load: Causes and How to Fix It
LEARN MORE
Electric Dirt Bike Bolt Torque Checklist: What to Check and Where the Numbers Come From
LEARN MORE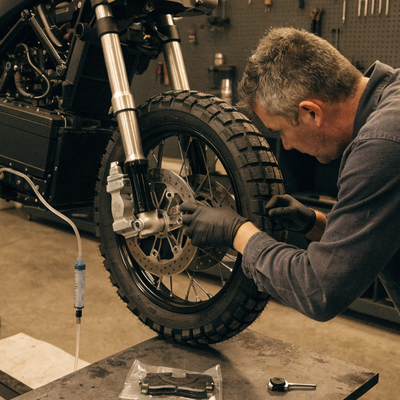
How to Bleed Electric Dirt Bike Brakes Safely
LEARN MORE
Electric Dirt Bike Throttle Not Working: What to Check First
LEARN MORELooking for something else?
Electric Bike Battery Not Charging? Work Through This Before You Buy a New One
LEARN MORE
Electric Dirt Bike Error Codes: What They Mean and What to Check First
LEARN MORE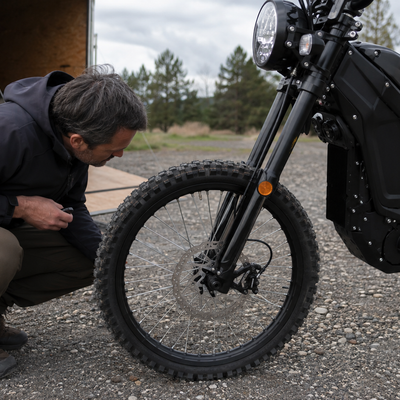
Electric Dirt Bike Brake Rotor Rubbing: Diagnose the Cause Before Adjusting
LEARN MOREYou may also like
VALTINSU EM-5 Off-Road Electric Dirt Bike
VALTINSU EM-5 Pro Off-Road Black Electric Dirt Bike
VALTINSU EM-5 Pro Green Electric Dirt Bike
VALTINSU EM-5 Ultra Electric Dirt Bike
VALTINSU EM-5 & EM-5 Pro Combo
Further reading
Electric Dirt Bike Trailside Power Loss: Recovery Plan When the Battery Is Dead
Electric Dirt Bike Fall Riding on Wet Leaves: Grip, Hidden Obstacles and Braking
How to Lift a Fallen Electric Dirt Bike Without Hurting Yourself or the Bike