Electric Dirt Bike Vibration at Speed: Tires, Wheels, Drivetrain or Bearings?
A vibration that appears with speed is a symptom, not a diagnosis. A steady fine buzz can come from tire tread, motor or drivetrain frequency; a repeating vertical hop points more toward tire or wheel geometry; a side-to-side shake raises tire, wheel, steering or chassis concerns. Stop riding when the vibration is new, growing, affects steering or braking, or follows an impact or tire service.
Begin with the current Valtinsu user manual for support points, tire pressure, chain slack and fastener procedures. Use the EM5 product page only to identify configuration; it does not replace inspection of the actual bike.
Describe the vibration before moving hardware
These are triage clues, not conclusions. Record the lowest speed at which the symptom appears, whether it follows motor speed or road speed, whether it changes under power, coasting and braking, and whether it occurs on more than one surface.
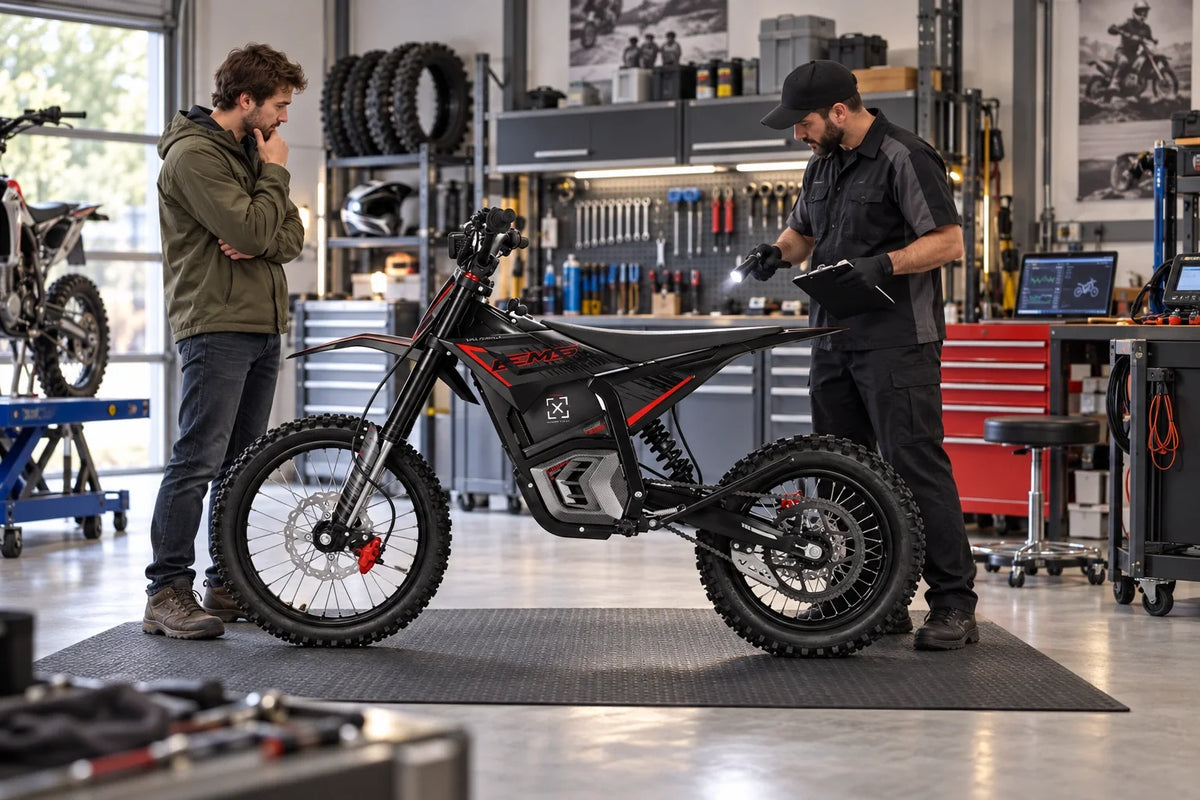
 Figure 1. Official Valtinsu EM-5 product image accompanying describe the vibration before moving hardware. Confirm component locations and limits against the exact model page and current manual.
Rule out the test surface and loose cargo
Knobby tires can transmit a regular feel on hard surfaces, and corrugations can create a vibration that disappears elsewhere. Remove unsecured cargo and check guards, stands and accessories for contact. Repeat only at low speed on a safe known surface. Do not accelerate into a worsening shake to locate its threshold.
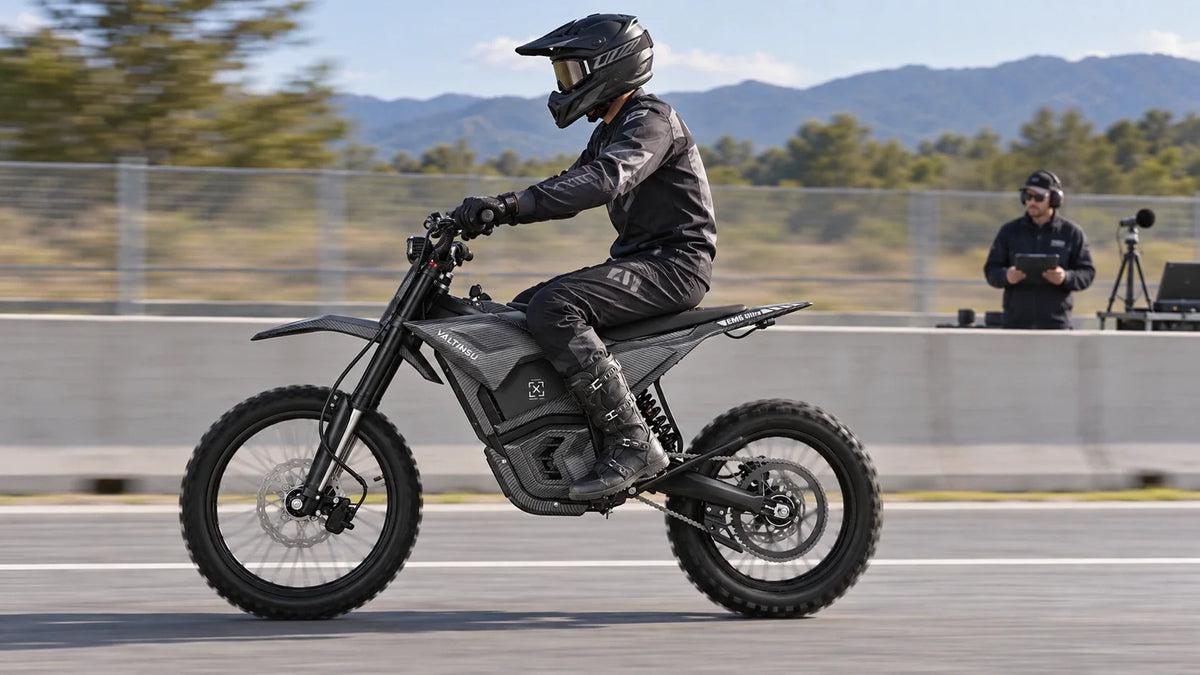
 Figure 2. Official Valtinsu EM5 Ultra product image accompanying rule out the test surface and loose cargo. Confirm component locations and limits against the exact model page and current manual.
Inspect tires before wheels
● Measure cold pressure with a reliable gauge and compare with the documented setup.
● Check the entire tread and both sidewalls for cuts, bulges, exposed cord, embedded objects and uneven wear.
● Follow the molded bead line around both rim edges; spacing should be consistent.
● Look for a flat spot after storage, fresh slip marks or a leaning valve stem.
● Confirm tire size, direction and load suitability.
A tire can be seated unevenly without losing pressure. A bulge, damaged carcass or bead problem is a no-ride condition. Do not attempt to correct vibration by adding sealant, changing pressure outside guidance or using unapproved wheel weights.
 Figure 3. Official Valtinsu EM5 Pro product image accompanying inspect tires before wheels. Confirm component locations and limits against the exact model page and current manual.
Check wheel condition and runout
Support the bike at approved points and rotate one wheel slowly. View the rim and tire from a fixed reference without touching the rotating assembly. Record lateral movement and vertical hop separately. Inspect spokes where fitted for missing, bent or obviously loose parts, but do not tune spoke tension by sound unless the wheel manufacturer provides a procedure. Cast or machined wheels require crack and dent inspection.
Separate tire runout from rim runout
Watch the molded tire line and rim edge at the same time. If the tire moves while the rim reference remains stable, seating or carcass condition becomes more likely. If the rim edge moves, wheel damage or bearing/axle setup needs attention. Measuring service limits requires the specified stand and indicator.
 Figure 4. Official Valtinsu EM-5 product image accompanying check wheel condition and runout. Confirm component locations and limits against the exact model page and current manual.
Check bearings, axle and steering
With the wheel unloaded as directed, hold it at opposite edges and apply light alternating force. A click between hub and axle, roughness or growl while turning needs service. Check axle hardware, spacers and steering movement without guessing torque. Movement at brake pads can mimic bearing play, so observe the hub-to-axle relationship directly.
Inspect drivetrain rhythm
Rotate the rear wheel and watch chain slack through a complete revolution. A tight section, stiff link, hooked sprocket tooth, damaged guide or debris can create a repeating pulse. Note whether the symptom changes between power and coast. Keep hands, clothing and tools away from the chain, and never run the powered wheel for diagnosis on an improvised stand.
Check mounts and contact points
Inspect documented motor, battery, skid plate, footpeg and suspension mounts for witness marks or movement. A loose guard can amplify a harmless frequency, while a shifted structural mount can create a safety issue. Use torque values only after checking threads, mating surfaces, spacers and hardware condition.
Build a technician-ready test matrix
A short video of wheel rotation and a written matrix are more useful than a high-speed ride video. If the symptom affects control, transport the bike. Dynamic diagnosis belongs to a technician with safe test equipment.
 Figure 5. Official Valtinsu EM5 Ultra product image accompanying build a technician-ready test matrix. Confirm component locations and limits against the exact model page and current manual.
Use change history to narrow the source
Ask what changed immediately before the vibration appeared. A tire replacement makes seating, pressure, direction, tube and wheel installation high-priority checks. A rock strike moves rim, tire, rotor, skid plate and mounts upward. Chain adjustment shifts attention to slack, alignment and axle seating. Long storage raises flat spotting, corrosion and pressure loss. This sequence does not prove causation, but it prevents random adjustments across unrelated systems.
After any authorized correction, repeat the static inspection before a low-speed verification. Compare onset speed, frequency and load condition with the original log. A symptom that moves to a different speed or changes from hop to shake is not necessarily solved; it may show that more than one source exists. Do not stack balance weights or alter suspension settings until the rotating components and bearings pass inspection.
Use Speed, Load and Braking to Isolate Vibration
A safe diagnostic separates conditions without using high speed to force the symptom. Begin with a stationary inspection and a low-speed roll in a controlled area. Note the speed at which vibration begins, whether it follows motor demand or wheel speed, and where the rider feels it. Stop immediately if steering becomes unstable or a component appears loose.
Speed-related vibration points toward rotating parts
A vibration that rises consistently with road speed even on closed throttle keeps tires, rims, spokes, bearings and brake rotors high on the list. Inspect tire seating, damage, debris and wheel play before drivetrain adjustment. Pulsation mainly during braking adds rotor and caliper evidence.
Load-related vibration changes with throttle demand
A symptom that grows on acceleration or climbing but fades at the same speed under light load can involve chain tension, sprockets, motor mounts or electrical power delivery. Record ride mode, surface and sound. Do not perform repeated hard launches. Compare only low-risk conditions and send a video or log to support when the pattern is repeatable.
Higher Speed Raises the Value of a Precise Inspection
Vibration should be classified by when it begins, where it is felt and whether it tracks wheel speed, motor load or braking. Use the Valtinsu electric dirt bike collection to identify the wheel format and power platform before adjusting anything. Do not ride through a new vibration to find out whether it becomes severe.
The Valtinsu EM-5 Ultra is listed with a 72V/25Ah battery, 17-inch front and 14-inch rear wheels, and a 56 mph top speed. Those specifications increase the importance of correct tires, wheels, bearings and fasteners. If vibration appears suddenly, follows an impact or comes with steering movement, heat or noise, stop and inspect at low speed or arrange service.
Use Valtinsu's electric dirt bike vibration diagnosis resources as the broad ownership reference, then confirm every procedure, part and limit against the exact model page and current manual.
After each correction, repeat the same short test on a known surface and change only one variable. Record the speed, throttle state and whether the vibration moved, weakened or remained unchanged; that result is more useful than replacing several parts at once.
Quick Decision Table
|
Vibration pattern |
Likely system |
First check |
|
Follows road speed |
Tire, wheel, bearing or rotating part |
Inspect pressure, bead seating, runout and fasteners. |
|
Appears mainly under power |
Drivetrain, mount or motor-load interaction |
Record throttle and terrain conditions. |
|
Changes under braking |
Rotor, wheel or brake system |
Stop high-speed tests and inspect the affected end. |
|
Worsens rapidly |
Developing mechanical fault |
End the ride and arrange qualified inspection. |
FAQs
Can knobby tires feel rough on pavement?
Yes, tread blocks can create a regular vibration, but a new or increasing hop, shake or pull still requires inspection.
Use this quick classification:
● Speed-related: frequency rises with road speed even when throttle load changes.
● Load-related: vibration appears mainly under acceleration, climbing or regenerative load.
● Braking-related: vibration changes when a brake is applied and points toward a different inspection path.
Does vibration only under power mean the motor is bad?
No. Chain load, sprockets, mounts and wheel alignment can change under power. Record the condition and inspect the full load path.
Can low tire pressure cause vibration?
It can change carcass movement and stability. Set pressure only within the documented range and inspect for damage or leakage.
How do I know whether it is front or rear?
Rider sensation can mislead. Inspect both wheels and use controlled low-speed observations rather than assuming the handlebar identifies the source.
Follow this check sequence:
1. Start with tire pressure, bead seating, damage, wheel runout and loose spokes.
2. Inspect bearings, axle retention, mounts and the drivetrain without replacing parts by guesswork.
3. Change one variable at a time during a short controlled test and stop if the vibration worsens.
Can I keep riding if the vibration is small?
Only after known normal tire feel is distinguished from damage and all safety checks pass. New, growing or control-related vibration is a stop-and-inspect condition.
Should I balance an off-road wheel?
Follow the wheel and tire manufacturer’s guidance. Balance may matter, but it must not conceal poor seating, damage, loose spokes or bearing play.
Can tire sealant create a speed-related vibration?
Yes. An uneven pool of sealant, an internal tube issue or debris inside the tire can add rotating imbalance, especially after a recent tire service. Start with pressure, bead seating, visible tire runout and any change in the wheel assembly. Do not keep increasing speed to find the exact threshold. Record whether the vibration follows road speed, motor load or braking, then inspect the wheel according to the tire and rim system. A bulge, loose spoke, bearing play or worsening shake is a stop-ride condition.


Looking for something else?
Electric Dirt Bike Loses Power Under Load: Causes and How to Fix It
LEARN MORE
Electric Dirt Bike Bolt Torque Checklist: What to Check and Where the Numbers Come From
LEARN MORE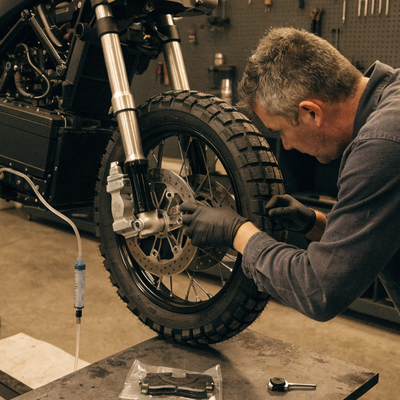
How to Bleed Electric Dirt Bike Brakes Safely
LEARN MORE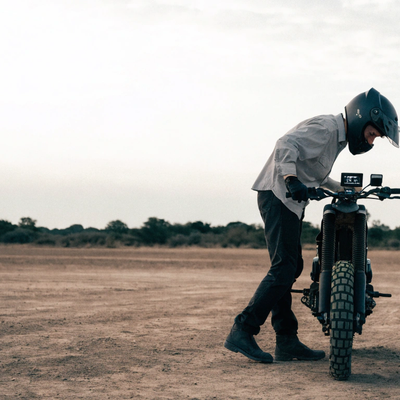
Electric Dirt Bike Throttle Not Working: What to Check First
LEARN MORELooking for something else?
Electric Bike Battery Not Charging? Work Through This Before You Buy a New One
LEARN MORE
Electric Dirt Bike Error Codes: What They Mean and What to Check First
LEARN MORE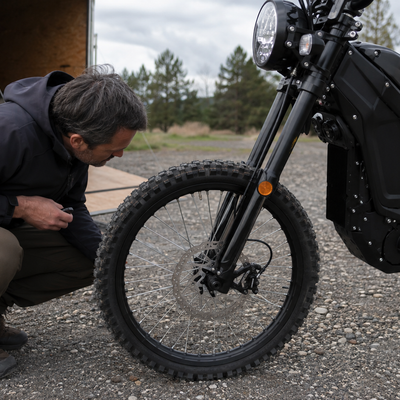
Electric Dirt Bike Brake Rotor Rubbing: Diagnose the Cause Before Adjusting
LEARN MOREYou may also like
VALTINSU EM-5 Off-Road Electric Dirt Bike
VALTINSU EM-5 Pro Off-Road Black Electric Dirt Bike
VALTINSU EM-5 Pro Green Electric Dirt Bike
VALTINSU EM-5 Ultra Electric Dirt Bike
VALTINSU EM-5 & EM-5 Pro Combo
Further reading
Electric Dirt Bike Trailside Power Loss: Recovery Plan When the Battery Is Dead
Electric Dirt Bike Fall Riding on Wet Leaves: Grip, Hidden Obstacles and Braking
How to Lift a Fallen Electric Dirt Bike Without Hurting Yourself or the Bike