Electric Dirt Bike Tip-Over Inspection: Immediate No-Ride Triage
Before any inspection, screen for an active battery emergency. If there is smoke, vapor, hissing, popping, swelling, fire, a strong chemical or burning odor, or rapidly rising heat, do not touch, move, open, charge, cover or place the motorcycle in a vehicle or building. Clear people from the smoke and travel path, move upwind/uphill where practical, call local emergency services and follow fire-service instructions.
Only a stable, non-emergency tip-over enters the visual triage below. Protect the rider and scene first, confirm the manufacturer-designated non-driving state, look for battery no-touch warning signs, then inspect controls, steering, wheels, brakes, chassis, suspension and drivetrain. This is a no-ride decision screen, not a clearance to resume riding.
For a stable, non-emergency tip-over, use these phases:
- Protect the rider and the scene
- Isolate electric drive
- Check battery warning signs
- Inspect controls and steering
- Inspect wheels, brakes, chassis, suspension and drivetrain
- Choose no ride, service, or documented follow-up
Understand What the 10-Minute Triage Can and Cannot Do
Ten minutes is a triage duration. Not a waiting period, and not a safety clearance.
The triage can find reasons to keep the bike out of service: battery deformation or heat, damaged wiring, a sticking throttle, changed brake feel, misaligned controls, wheel wobble, tire damage, suspension leakage, loose or displaced components, frame or swingarm damage, abnormal sound or resistance.
It cannot confirm internal battery condition, hidden cell or busbar damage, frame integrity beneath paint, fork or steering-stem alignment, wheel-bearing condition after impact, internal controller or motor damage, or brake-system integrity past basic external checks.
A motorcycle that passes visually may still need qualified inspection, depending on the impact, the symptoms and the manufacturer’s guidance.
Minute 0–1: Protect the Rider and Control the Scene
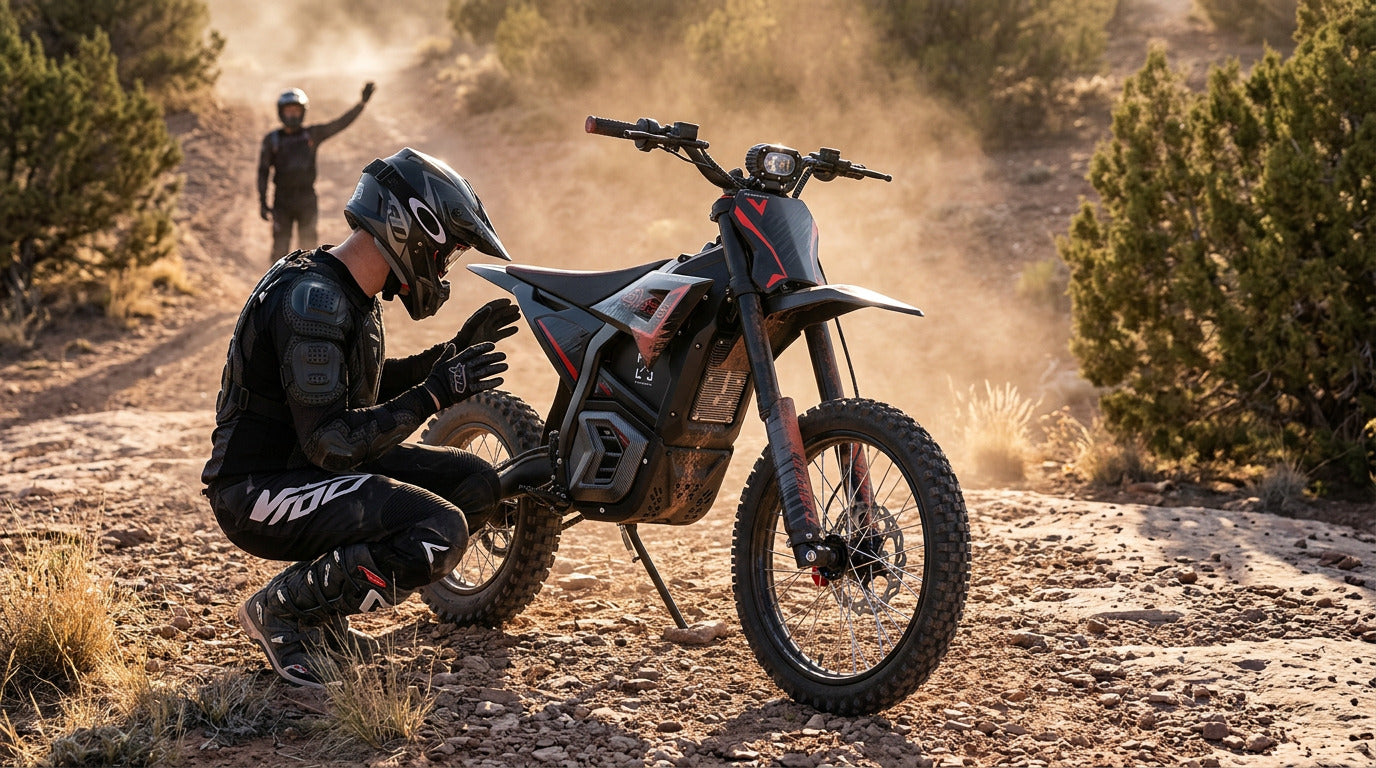
Before touching the bike, check the rider for head impact, neck or back pain, dizziness or confusion, breathing difficulty, major limb pain, heat illness or inability to stand securely. Call local emergency services for suspected head, neck, back, breathing or major-limb injury; do not move the rider unless there is an immediate life threat, and never let a dizzy or confused rider resume riding or assist with the motorcycle.
Then read the scene. Is the bike in an active trail, above a drop or slope, near dry vegetation, in water or mud, blocking other riders, resting on the throttle side, still powered, or producing smoke, vapor, sparks or an unusual odor?
Stop approaching riders before the inspection starts. Move a stable, non-emergency motorcycle only when leaving it in place creates a greater immediate risk. Never touch or relocate a motorcycle with smoke, vapor, hissing, swelling, fire, rapidly rising heat or strong chemical odor, and note that no single lifting method belongs in an article. Ground angle, bike mass, injury, footing and available help decide how it gets moved.
Minute 1–2: Isolate Electric Drive Before Inspection

Confirm the Throttle Is Fully Closed
Do not twist the throttle to see whether the bike still works. Check instead whether it returns freely, has visible housing damage, rubs the grip or bar end, changes feel as the bars turn, or has been pushed inward by the impact.
Select the Documented Non-Driving State
Close the throttle and use the exact model’s manufacturer-designated stop, kill or power-off state, including key handling only where specified. Do not treat a brake cutoff, interlock, motor-inhibit input or display indication alone as proof of shutdown. Disconnect or remove the battery only when the exact manual authorizes that action after an impact.
Do Not Remove the Battery Automatically
Removal is appropriate on some motorcycles. A damaged pack, latch, connector or enclosure can make it hazardous. Use the direct manual and Valtinsu support instructions for the exact model. Confirm that the cited procedure covers impact handling; ordinary battery removal or power-off instructions do not by themselves clear post-crash damage. That page carries separate documentation for the EM-5, EM-5 Pro Black, EM-5 Pro Green, EM-5 Ultra and EM23, which is precisely why no article can hand you one universal shutdown sequence.
Minute 2–3: Perform the Battery Impact Triage
Look Without Opening the Pack
Check the visible enclosure, mount, lock, connector area, charging port and surrounding frame for dents, cracks, punctures, swelling, separation at seams, a shifted or loose pack, damaged retention hardware, exposed wiring, melted areas, moisture intrusion, fluid or residue, smoke or vapor.
Do not open the battery, probe connectors, straighten the enclosure or press on a swollen section.
Use Sight, Sound, Smell and External Heat as Warning Signs
Never touch the battery to judge temperature and never lean close or sniff it. If rising heat is noticeable without contact, an approved non-contact reading indicates abnormal heat, or there is hissing, popping, swelling, smoke, vapor or a strong chemical or burning odor, stop the inspection, move away and follow the active-emergency procedure.
The U.S. Fire Administration says to stop using a lithium-ion battery on any odor, color change, excessive heat, change in shape, leaking or odd noise, and its guidance for the fire service names mechanical damage from dropping or collision as a thermal-runaway trigger, with reignition possible after a fire appears out. CPSC is equally blunt that lithium batteries never belong in trash or general recycling. Our battery guide covers the post-crash case, mount, wiring and connector checks in more depth.
No Visible Damage vs Battery Clearance
An undented enclosure is not proof that the cells, connections or battery-management system survived. Route uncertain impacts to the manufacturer or a qualified battery technician.
Battery Warning vs Active Battery Emergency
Battery Warning Condition
A new dent, a shifted battery, damaged mounting hardware, a cracked charging-port cover, a scraped connector housing, new error messages, or unexplained power loss. Keep the bike powered down, do not charge it, and contact support.
Active Battery Emergency
Smoke, flames, rapidly rising heat, hissing, popping, vapor, strong chemical odor or an expanding enclosure require immediate exclusion. Do not touch, carry, cover, open, charge or place the motorcycle in a vehicle or building. Stay out of the smoke or vapor path, move upwind/uphill where practical, call emergency services and follow dispatch and fire-service instructions.
Storage Decision
No universal waiting time, isolation distance, container method or indoor-storage rule applies. Manufacturer instructions, battery condition, local fire guidance and the surrounding environment decide it.
Minute 3–4: Check the Throttle, Levers and Handlebar Controls
Throttle Side vs Non-Throttle Side
A throttle-side fall raises immediate concerns about throttle-tube binding, bar-end interference, damaged housing, pinched wiring, a shifted brake lever and handguard contact. A fall on the opposite side can still twist the bars, move a lever, or pull wiring tight across the steering range.
Inspect Every Control Externally
Look for bent or cracked levers, loose perches, damaged grips, broken switches, a shifted display, cracked housings, pinched cables, abraded insulation, controls contacting bodywork, and a side stand that no longer moves correctly.
Test Movement With Power Off
Controls should move and return without sticking or changing resistance. Do not loosen, realign or tighten a control unless the manual gives the procedure and the exact torque. A visually straight lever can still have a cracked mount or a damaged sensor.
Minute 4–5: Check Steering Alignment and Front-End Movement

Handlebar Misalignment vs Bent Components
After a fall the bars, fork legs, clamps, axle and front wheel may no longer share the same alignment. A front wheel that looks crooked relative to the bars tells you nothing about which part moved.
Do not hold the wheel between your knees and force the bars straight. That hides damage, alters clamp position and can stress components further.
Turn the Steering Slowly With Power Off
Check for binding, a tight spot, unequal movement, new clicking or knocking, cable tension, wiring pulled tight, contact between controls and bodywork, and reduced steering range.
Observe the Front End Without Loading
A basic external check may reveal movement or sound at the steering head, fork, axle or brake assembly. It cannot clear bearings, clamps, fork tubes or the frame after impact. MSF’s T-CLOCS checklist sets the baseline: straight handlebars, free steering movement, secure controls, sound wheels, good bearings, functioning brakes.
Minute 5–6: Inspect Tires, Rims, Spokes and Axles
Tire and Sidewall Check
Inspect both tires for cuts, bulges, tears, bead displacement, embedded debris, rapid pressure loss, tread separation and new rubbing marks. No universal post-impact pressure applies. Compare cold pressure against the exact manual and tire requirements.
Wheel and Rim Check
Look for rim dents or cracks, broken, bent or loose spokes, axle movement, missing or displaced hardware, a wheel sitting differently in the fork or swingarm, and new side-to-side or vertical wobble.
Stationary Check vs Spin Check
Rotate a wheel only when the motorcycle is fully powered down and securely supported on an exact-model approved stand, with the wheel clear and nobody in the fall path. Keep hands, clothing and tools away from the chain, sprocket, rotor and tire. If stable support is unavailable trail-side, do not spin the wheel; keep the motorcycle out of service.
Minute 6–7: Inspect Brakes Before Considering Movement
Check Levers, Lines and Calipers
Look for bent or cracked levers, changed lever travel, a lever pulling unusually close to the bar, fluid leakage, a twisted or abraded hose, a loose caliper, damaged fittings and missing fasteners.
Check Rotors and Guards
A rotor bends easily when the bike lands against rock, root, trailer edge or hard trail. Watch for visible warping, heavy rubbing, deep scoring, cracks, a displaced rotor guard and caliper-to-rotor misalignment.
Brake Feel Before vs After the Tip
The useful question is not whether the brake still works. It is whether feel, travel, resistance, sound and stopping action match the baseline you knew before the incident. Do not ride when either brake has changed feel or gives uncertain stopping force. External observation cannot clear hydraulic lines, seals, pistons, pads or mounting integrity after impact.
Minute 7–8: Check the Frame, Swingarm, Pegs and Battery Mount

Cosmetic Damage vs Structural Damage
Surface scuffs on replaceable plastics may be cosmetic. Structural warning signs are cracks, dents, buckling, ripples, paint separation around a weld, a changed gap between components, a shifted mount, and new contact between moving parts. A scratch cannot be called cosmetic until you understand the material beneath it.
Follow the Impact Path
Work from the first contact point into the load-bearing parts near it: bar and clamps, fork and steering head, frame, battery cradle, foot peg and mount, swingarm, axle area, motor mount, side stand and bracket.
Check the Battery Retention System
The battery has to remain secured exactly as designed. A latch that closes does not prove the mount, frame tabs, hardware and connector alignment survived. Do not ride when the battery has movement that was not there before.
Minute 8–9: Check Suspension and Drivetrain
Fork and Shock Check
Look for oil residue, scratched or dented stanchions, bent guards, shifted fork legs, damaged seals, new asymmetry, binding, clunking and changed ride height. Do not use a suspension adjustment to correct post-impact misalignment. A setting change cannot repair a bent, cracked, loose or displaced part.
Chain and Sprocket Check
Inspect for derailment, tight or damaged links, changed slack, sprocket damage, a bent guide, a displaced tensioner, and chain contact with the frame, tire, wiring or guard.
Motor and Drive Mounting
Externally, look for new gaps, loose hardware, cracked brackets, housing damage, debris driven into the drive system, and unfamiliar resistance or sound. Do not open the motor, gearbox, controller or any sealed electrical component. Our How to Maintain an Electric Dirt Bike guide covers the routine battery, chain, brake, suspension, tire and wiring checks this section borrows from.
Phase 3: Document the Incident and Make the Service Decision
Photograph Before Moving or Adjusting Parts
Capture the full motorcycle from both sides, the impact side, the battery enclosure and mount, the handlebar and controls, front-wheel alignment, brake rotors and calipers, tires and rims, fork and shock, frame and swingarm, display warnings, and any damaged wiring or connectors.
Record the Incident Conditions
Note which side contacted the ground, whether the bike slid, whether a wheel, bar, peg or battery area struck an object, the surface type, the approximate riding state, whether the bike was powered, any warning messages, and any new sound, heat, odor, resistance or control change. Do not invent a cosmetic-drop height or speed.
Make One of Three Decisions
- Keep out of service and contact support. The default when anything is uncertain.
- Transport for professional inspection. When the impact was hard or symptoms point at structure, brakes or battery.
- Follow an exact manufacturer-directed follow-up. When support has given you a specific procedure for your model.
Uncertainty means no ride. Not a short ride to see whether the problem clears.
No-Ride Signs vs Service-Recommended Signs
|
Observation |
Immediate Decision |
Next Action |
|
Battery heat, swelling, smoke, vapor, hissing, cracking or strong odor |
Keep away and treat as an emergency |
Call emergency services and follow local instructions |
|
Cracked or dented battery case, shifted pack, damaged mount or connector |
Do not power or charge |
Contact manufacturer support |
|
Throttle sticks, returns slowly, or changes with steering |
Do not ride |
Exact-model inspection and repair |
|
Brake feel changes or fluid appears |
Do not ride |
Qualified brake inspection |
|
Steering binds, clicks, or has reduced range |
Do not ride |
Front-end and steering inspection |
|
Wheel, rim or rotor wobbles |
Do not ride |
Wheel, axle, bearing and brake inspection |
|
Frame, weld, fork, swingarm or motor mount shows damage |
Do not ride |
Structural inspection |
|
Only replaceable plastic is visibly scuffed |
Not automatically cleared |
Complete the full triage and follow support guidance |
|
No visible damage but the impact was hard or symptoms are uncertain |
Keep out of service |
Professional inspection |
Visual Inspection vs Professional Clearance
Visual Inspection
A visual check finds obvious displacement, external damage, leakage, missing hardware, new rubbing, warning signs, and a reason not to ride. That is its whole job.
Professional Clearance
A qualified technician may need to evaluate frame alignment, fork alignment, steering bearings, wheel bearings, axle and clamp integrity, hydraulic brake condition, battery diagnostics, controller fault records, internal drivetrain damage, and manufacturer-defined measurements and torque values.
Why the Difference Matters
The absence of a visible crack is not evidence that a structural or electrical system survived an impact. Ten minutes is never enough to certify a motorcycle as safe.
Tip-Over vs Moving Crash vs Water-Exposed Fall
Stationary Tip-Over
A standing drop can still damage the throttle, levers, bar ends, foot pegs, display, side stand, brake rotor and battery mount. Do not dismiss it because the speed was zero.
Moving Crash or Slide
A moving incident adds abrasion, repeated impacts, wheel and frame loads, rotor damage, wiring exposure, battery case wear, and hidden steering or suspension damage.
Water or Mud Exposure
A fall into water, deep mud or wet debris adds electrical contamination. Do not power, charge, open, heat-dry or reconnect a possibly contaminated system unless the manufacturer’s procedure specifically directs it. USFA’s guidance on flood-exposed lithium-ion batteries goes further still, telling owners to notify the local fire department when a battery may have been submerged, and to keep suspect batteries out of buildings and garages.
Trail-Side Triage vs Workshop Inspection
Trail-Side Triage
The trail-side job is to protect people, isolate drive, identify battery warning signs, prevent further movement, decide whether the bike must be extracted, and document the event. It is not the place for electrical probing, structural repair, brake bleeding, fork alignment or battery disassembly.
Workshop Inspection
A stable, well-lit workspace gives you correct stands, manufacturer documentation, torque tools, alignment checks, diagnostic equipment, replacement parts and qualified technicians. Use the Valtinsu accessories collection only for exact-model parts confirmed by support. That page says as much itself: power the bike off before replacing electrical components, never force-install a part that will not align, and contact support when anything looks different from the original. Use model documentation and Valtinsu support to identify the exact part number and repair responsibility before ordering anything. A replacement part should never be selected because it merely looks similar.
Riding Home vs Transporting the Motorcycle

Riding Home
A short or slow ride still loads the frame, wheels, axles, bearings, steering, suspension, brakes, battery mount and electrical connections. Lower speed does not make hidden damage safe.
Transporting the Bike
Transport is the conservative choice whenever the inspection leaves uncertainty. Before loading, consider battery condition, manufacturer instructions, carrier or trailer capacity, tie-down points, wheel security, whether the bike can be loaded without powering it, and whether a damaged battery can be moved safely at all.
Do not put a smoking, unusually hot, swollen or otherwise hazardous battery into an enclosed vehicle. Damaged-battery shipping rules and carrier restrictions vary, so no universal instruction belongs here.
Battery Isolation vs Battery Removal
Battery Isolation
Isolation means placing the motorcycle in its documented non-driving state and preventing unintended activation. On some machines that is possible without touching the enclosure at all.
Battery Removal
Removal means handling the latch, pack housing, connector, wiring, the weight of the pack, and a possibly damaged mounting area. It can raise risk when the pack is distorted, hot, wet, smoking, stuck or mechanically damaged.
Use the Exact-Model Procedure
The manual and the support team decide whether the battery stays installed, comes out, or is handled only by a technician. Never pry, strike, puncture, clamp or force a battery free after an impact.
EM-5 Pro Post-Incident Inspection Zones
The point of this comparison is which systems need checking and how easily you can get the right documentation. Not which bike survives crashes better.
|
Model |
Post-Incident Factors to Check |
Ownership Consideration |
|
Removable 60V battery, geared drivetrain, controls, 17/14-inch wheels, suspension, battery mount |
Exact-model manual, support access and model-specific replacement parts beat any generic checklist |
|
|
Same Pro platform and the same inspection points, in signature Volt Green |
Paint color does not change the inspection or structural-clearance standard |
|
|
Sur-Ron Light Bee X |
Removable battery, aluminum frame, hydraulic brakes, off-road suspension |
Established aftermarket and service community, though a modified bike may need inspection beyond factory documentation |
|
Talaria Sting R MX4 |
Battery connector, gearbox, regeneration controls, headset, wheels, brakes |
The gearbox and adjustable regeneration are model-specific systems generic post-drop advice tends to skip |
|
E Ride Pro SS 3.0 |
High-output powertrain, battery mounting, controls, chassis, brakes, suspension |
More performance does not raise the safe-impact threshold. Exact documentation still governs |
The EM-5 Pro lists a 60V 5,600W geared motor, 177 lb-ft of maximum torque, a 60V 27Ah battery, 17/14-inch wheels and three riding modes. Read that as an inspection map: a removable pack means a mount and connector to check, a geared drivetrain means chain, sprocket and housing to check, and 17/14-inch wheels mean two different rims and rotors to check. None of it proves impact resistance.
Sur-Ron lists the Light Bee X with a removable 60V battery, hydraulic brakes, an aluminum frame and off-road suspension, and Talaria describes a gearbox, an upgraded battery connector and adjustable regenerative braking on the Sting R MX4. After a crash, use Valtinsu support and the exact-model parts documentation rather than community size or commercial comparisons, which matters after a crash when you need a part fast. The electric dirt bike collection shows where the Pro sits in the range.
Do Not Repair These Problems During the Triage
The ten minutes are for finding problems. Not fixing them. Do not:
- Open the battery or probe its terminals
- Open sealed connectors
- Bypass a fault or interlock
- Reset repeated errors without diagnosis
- Straighten a frame, fork, rotor, rim or handlebar by force
- Adjust unfamiliar brake components
- Tighten critical hardware to a guessed torque
- Re-route damaged high-current wiring
- Repair cracked structural material
- Test the motor with a wheel elevated
- Charge a battery that may have been impacted
- Ride the bike to reproduce the symptom
Clearing loose surface debris so you can see a part is inspection. Everything above is repair, and it belongs to the manual, support documentation and a qualified service provider.
Contact Support With Evidence, Not a General Description
Give support the exact model and version, the serial number where requested, the battery model or identifier, the incident date, which side hit, whether the bike slid, the surface and conditions, whether the bike was powered, photos of the whole bike and every damaged area, any display warnings or error codes, any new heat, odor, noise, resistance or control change, whether the bike has been powered or charged since, and any modifications or non-original parts.
Then ask specific questions. Should the battery remain installed? Can the motorcycle be transported normally? Which components need measurement? Which parts should not be powered? Is dealer or technician inspection required?
What does not work is asking anyone to approve an entire motorcycle from one distant photo. More owner reading sits in our riding guides.
Conclusion
An electric dirt bike tip-over inspection begins with the rider and the battery, not with starting the motor. Isolate electric drive, look for heat or enclosure damage, then work through controls, steering, wheels, brakes, frame, suspension and drivetrain. Document what changed before adjusting anything.
Ten minutes can reveal a reason to stop. It cannot clear a battery, frame, fork, wheel, steering system or brake assembly after impact.
Save this immediate no-ride checklist and detailed reference, keep any uncertain motorcycle out of service, and follow the Valtinsu manual or support procedure for your exact model.
FAQs
What should you check first after an electric dirt bike tips over?
Make the rider and area safe before inspecting the motorcycle. Then use this order:
- Close the throttle, switch the motorcycle off, and isolate drive as the manual describes.
- Check the rider for injury and keep others clear.
- Look and listen for smoke, heat, swelling, hissing, leaking fluid, or a sharp chemical odor.
- Inspect the battery enclosure, mounts, controls, bars, levers, wheels, brakes, frame, and visible cables without touching damaged high-voltage parts.
- Do not power up or ride until every stop condition has been ruled out.
Can you ride an electric dirt bike after a minor tip-over?
Only if the rider is uninjured, the battery and motorcycle show no red flags, every control works normally, the wheels and brakes are aligned and free, and the manual-approved power-on check is normal. Any uncertainty means the bike should stay off and be inspected.
Can battery damage appear after the bike has been dropped?
Yes. Impact damage can be hidden or symptoms can appear later, so monitor the motorcycle in a safe location and stop using or charging it if any warning sign develops:
- Unusual heat, swelling, hissing, popping, smoke, or a chemical odor
- Cracks, dents, abrasion, loose mounts, moisture, or exposed wiring around the battery enclosure
- New warning lights, loss of power, charging faults, or repeated shutdowns
Should you remove or charge the battery after a crash?
Do not remove, charge, open, or reconnect a possibly damaged battery unless the exact manufacturer procedure says it is safe and you are qualified to perform it. If there is smoke, fire, rapid heating, or hissing, move people away and contact emergency services rather than handling the pack.
Why do the brake or steering feel different after a tip-over?
A bent lever, rotated control, twisted bar mount, displaced fork, damaged rotor, caliper movement, cable chafing, or wheel misalignment can change the feel. Keep the motorcycle off and inspect it against the service manual; visual straightening is not proof that the system is safe.
Why will the electric dirt bike not power up after a fall?
The cause may be a kill switch, brake-cutoff or tip-over interlock, loose connector, damaged throttle, battery protection event, blown fuse, or another fault. Follow only the model’s normal reset and diagnostic procedure, and stop if a warning remains or a connector, enclosure, or cable is damaged.
Sources
- Motorcycle Safety Foundation, T-CLOCS Pre-Ride Inspection Checklist
- Motorcycle Safety Foundation, Tips & Practice Guide for the Off-Highway Motorcyclist
- U.S. Consumer Product Safety Commission, Micromobility Information Center
- U.S. Consumer Product Safety Commission, Micromobility Battery Charging Safety
- U.S. Fire Administration, Battery Fire Safety
- U.S. Fire Administration, Lithium-Ion Batteries: Risks and Response Strategies
- U.S. Fire Administration, Lithium-Ion Battery Safety After Flooding
- U.S. Environmental Protection Agency, Used Lithium-Ion Batteries
- U.S. Fire Administration, lithium-ion battery fire safety (electrical-system context only; the standard does not clear an impacted motorcycle or battery)
- National Highway Traffic Safety Administration, Motorcycle Safety
- National Highway Traffic Safety Administration, Choose the Right Motorcycle Helmet


Looking for something else?
Electric Dirt Bike Replacement Parts Availability: What Buyers Should Verify Before Ordering
LEARN MORE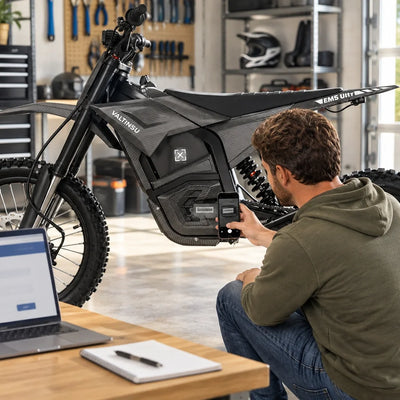
How to Check an Electric Dirt Bike for Safety Recalls by Model and Serial Number
LEARN MORE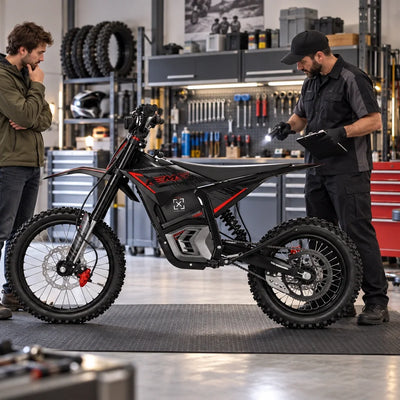
How to Choose an Electric Dirt Bike Repair Shop: Questions to Ask Before Service
LEARN MORE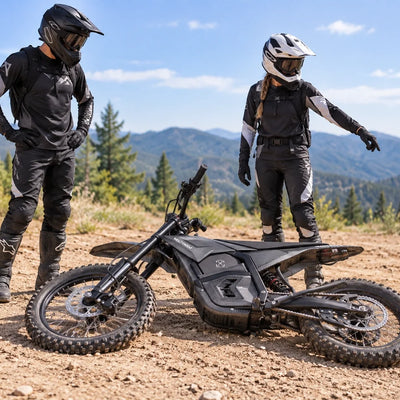
How to Lift a Fallen Electric Dirt Bike Without Hurting Yourself or the Bike
LEARN MORELooking for something else?
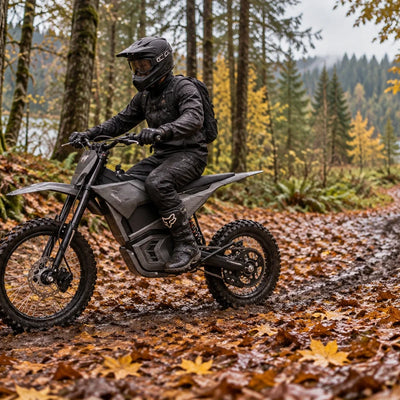
Electric Dirt Bike Fall Riding on Wet Leaves: Grip, Hidden Obstacles and Braking
LEARN MORE
Electric Dirt Bike Trailside Power Loss: Recovery Plan When the Battery Is Dead
LEARN MORE