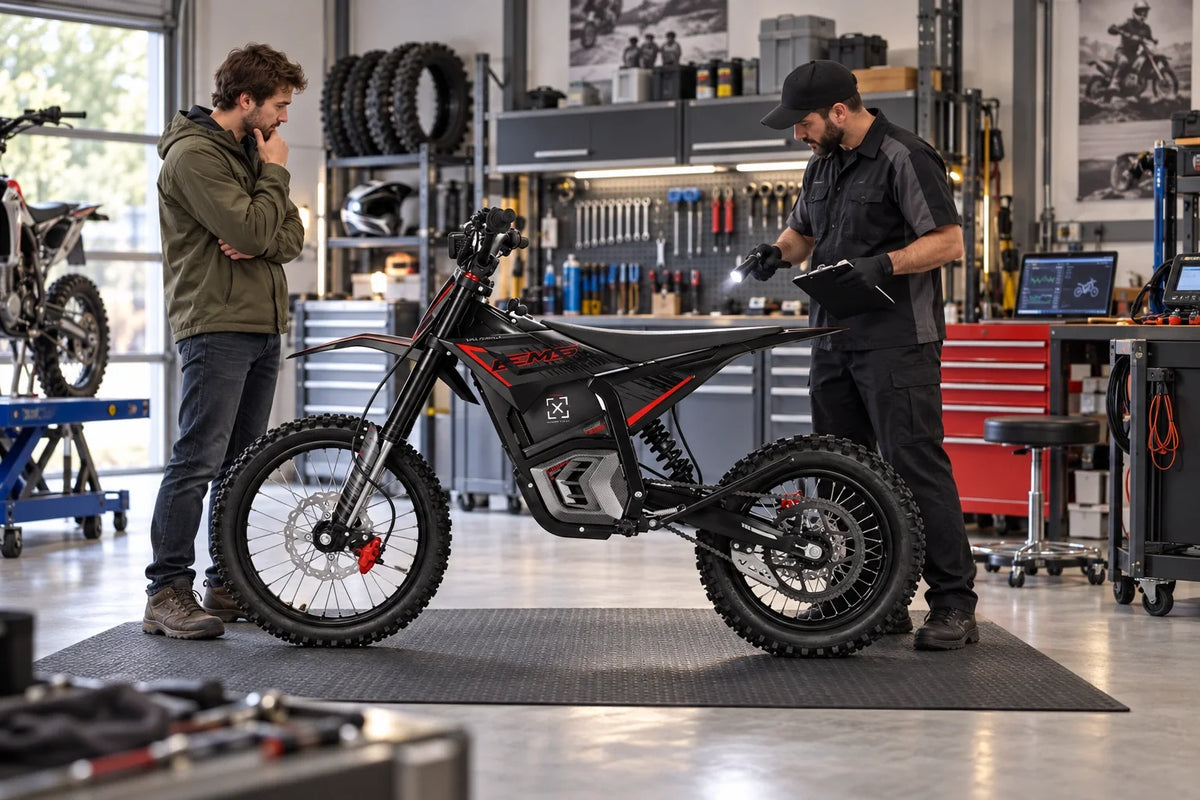
Electric Dirt Bike Battery Won't Lock Into Place: Mount, Key and Latch Checks
A removable electric dirt bike battery that will not lock should be treated as a fitment and retention problem, not a cue to push harder. The usual external causes are an incorrect key or latch position, the pack entering the rails at the wrong angle, dirt or a displaced seal in the mount, an object blocking the lower contact area, or a latch and mounting point that no longer align. A battery can sometimes power the display before it is mechanically secure. Electrical contact is not proof that the pack is safe to ride.
Power the bike off, remove the key if the manual instructs, support the pack with both hands and follow the exact installation sequence for the model. If normal hand pressure does not seat it, stop. Forcing the pack can damage the connector, latch, case or frame mount and may turn a simple alignment issue into an electrical problem.
Do not ride with an unlatched battery
The battery must be retained against movement in the conditions for which the bike is designed. Off-road vibration, braking loads and impacts can make a partially seated pack move even when it feels stable in the garage. Movement can interrupt power, damage terminals and wear the mount. If the latch does not engage fully, keep the bike off and out of service until the cause is identified.
Do not use tape, foam, wedges, cable ties or an altered lock as a riding fix. Those materials can mask a poor fit and place pressure where the battery case or connector was not designed to carry it. Use only model-supported retainers and replacement parts.

Figure 1. Official Valtinsu EM5 Pro product image accompanying do not ride with an unlatched battery. Confirm component locations and limits against the exact model page and current manual.
Identify where the fit stops
The pack will not enter the rails
Compare both sides of the rail and the matching features on the battery. Look for dirt, a folded gasket, a deformed edge, a protruding cable or an accessory that now intrudes into the path. Clean only as the manual permits, with the bike off and no liquid placed into electrical contacts. If the pack was recently dropped, inspect the case edge for swelling, cracking or distortion and do not attempt installation when damage is visible.
The pack slides in but stops before the connector
Confirm the orientation and insertion angle. Many removable packs require one end to locate first before the rest of the case rotates or slides into place. The correct motion is model-specific. Use the illustrations in the Valtinsu user manual rather than copying another bike. Check that the key mechanism is not leaving the latch extended into the battery path.
The pack seats but the key will not turn
Do not increase key force. Lightly support the pack in its fully seated position and see whether the key moves through the normal range. If the key binds, withdraw the pack and look for a latch that is misaligned, a lock cylinder that has shifted or contamination around the mechanism. A bent key, cracked lock housing or loose mount needs support, not improvised straightening.
The key turns but the battery still moves
The latch may not be entering its receiving slot, or the mount may have changed position. With the bike off, visually compare the latch path and battery recess. Do not place fingers in a mechanism that can snap closed. If the latch appears to engage but the pack can lift or slide beyond the small movement allowed by the manual, do not ride.

Figure 2. Official Valtinsu EM5 Ultra product image accompanying identify where the fit stops. Confirm component locations and limits against the exact model page and current manual.
No-force inspection sequence
● Photograph the battery bay before cleaning so the original position of debris, seals and hardware is recorded.
● Verify the exact battery belongs to the model and has not been mixed with a visually similar pack.
● Place the lock in the installation position specified by the manual. Do not assume locked and unlocked key positions are the same across brands.
● Inspect rails, locating tabs, seals and the connector surround for obstructions or deformation.
● Install the pack with the normal sequence and hand pressure. Stop at the first hard interference.
● After the latch engages, perform the manual retention check before power-on.
If the battery was easy to install before a recent service, transport or crash, compare what changed. A newly tightened lock mount can sit slightly out of alignment. A cable or seal can be trapped. The bike may have been strapped down against the battery or frame. Report that sequence to support because it narrows the investigation.

Figure 3. Official Valtinsu EM-5 product image accompanying no-force inspection sequence. Confirm component locations and limits against the exact model page and current manual.
A safe retention test
The manual controls the final check. In general, the bike remains off while the owner confirms that the pack is flush with the mount, the lock has reached its normal end position, the key behaves normally and the battery does not lift out with a gentle retention check. Do not shake the entire bike or use riding vibration as a test.
Only after mechanical retention is confirmed should the system be powered on. Verify that the display starts normally and no battery or connection error appears. If power flickers when the pack is touched lightly, turn the bike off and contact support. Mechanical security and stable electrical contact must both be present.

Figure 4. Official Valtinsu EM5 Ultra product image accompanying a safe retention test. Confirm component locations and limits against the exact model page and current manual.
When support or replacement is the right next step
Send support clear photos of the empty bay, battery rails, connector area, latch extended and retracted, key position and the gap where the pack stops. Include the model, battery label, whether the pack was dropped, and when the problem began. Do not file, grind or bend a latch unless an authorized procedure specifically instructs it.
If a mount, lock or battery part requires replacement, confirm compatibility through compatible accessories or direct support. The external dimensions and connector may change across models or production revisions. A part listing is not a substitute for matching the exact model and identifier.

Figure 5. Official Valtinsu EM5 Pro product image accompanying when support or replacement is the right next step. Confirm component locations and limits against the exact model page and current manual.
Start With the Exact Valtinsu Battery Interface
Battery retention systems can look similar while using different keys, latches, rails and connector positions. Start with the Valtinsu electric dirt bike collection to identify the exact model, then follow its manual and support path. Do not transfer a latch adjustment, shim or replacement-battery recommendation from a different voltage platform simply because the pack looks close.
Owners of the Valtinsu EM-5 Pro should use the model page to confirm the 60V/27Ah configuration before ordering a battery or retention part. The product specification does not replace a hands-on inspection, but it prevents a common mistake: forcing an incorrect pack or treating an alignment problem as proof that the battery itself is defective.
Use Valtinsu's electric dirt bike fitment and support resources as the broad ownership reference, then confirm every procedure, part and limit against the exact model page and current manual.
Quick Decision Table
|
Fit symptom |
Likely area |
Safe response |
|
Pack stops before seating |
Rail obstruction, displaced seal or alignment |
Power off and inspect both rails without forcing the battery. |
|
Key will not turn |
Latch is not aligned or fully seated |
Remove and reinstall according to the exact model procedure. |
|
Battery moves after locking |
Retention or mount damage |
Do not ride; document the movement and contact support. |
|
Heat, swelling or impact damage |
Battery safety concern |
Keep the pack out of service and follow manufacturer guidance. |
FAQs
Why will the battery not click into place?
The latch may be in the wrong position, the pack may not be following the rails, or debris, a seal or a misaligned mount may be blocking the final movement. Stop at hard resistance and compare the installation sequence with the model manual.
Use this quick classification:
● Obstruction: dirt, a displaced seal or debris prevents the pack from reaching its seated position.
● Alignment issue: the rails or latch meet unevenly even though no part looks broken.
● Damage condition: impact marks, a loose mount, bent hardware or battery movement after locking makes the bike a no-ride.
Can I ride if the battery powers on but does not lock?
No. Electrical contact does not provide mechanical retention. Off-road vibration can move the pack, interrupt power or damage terminals. Keep the bike off until the latch and retention check are correct.
Should I lubricate the battery lock?
Only if the manual or support specifies a product and location. General oil can attract dirt, migrate toward electrical areas or damage materials. A binding lock may also be misaligned rather than dry.
Can dirt in the rail prevent locking?
Yes. Packed dust, grit, a small stone or a displaced seal can stop the battery short of the latch. Photograph first, power the bike off and clean only with the dry method allowed by the manual.
Follow this check sequence:
1. Switch the bike off, remove the key and stabilize it before touching the battery interface.
2. Inspect both rails, the latch and accessible contact area; clean only as the manual permits.
3. Reinstall without force, confirm the key action and perform the specified retention check before riding.
How can I tell whether the mount is bent?
Look for a new uneven gap, rail surfaces that are no longer parallel, paint cracking near a mount, hardware that shifted after impact or a latch that misses its receiving slot. Do not force a fit to confirm it. Send aligned photos to support.
Why does the key turn when the battery is removed but not when it is installed?
The installed pack may be stopping short of its correct depth or loading the latch sideways. Compare seating gaps, rail alignment and the key position without forcing the lock. If the connector, latch or mount is bent or damaged, stop and ask support to identify the correct repair.
Can a temperature change affect how the battery fits?
A normal temperature change should not require force to install the battery. Dirt, a displaced seal, a damaged rail or slight misalignment is more likely when a pack suddenly stops short or the key will not turn. Let the battery and bike return naturally to the permitted ambient range, then inspect the rails, latch and accessible contact area with the system off. Do not heat, cool, pry or strike the pack. If fit changes after an impact or the battery moves when locked, stop riding and send clear photos of both rails and the latch to support.


Looking for something else?
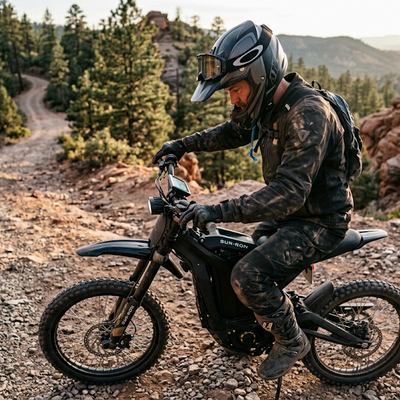
Electric Dirt Bike Loses Power Under Load: Causes and How to Fix It
LEARN MORE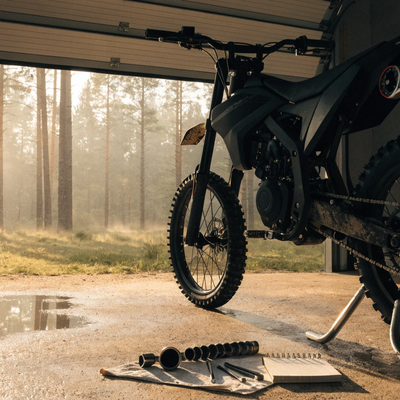
Electric Dirt Bike Bolt Torque Checklist: What to Check and Where the Numbers Come From
LEARN MORE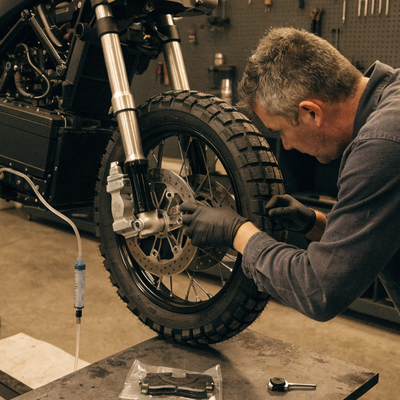
How to Bleed Electric Dirt Bike Brakes Safely
LEARN MORE
Electric Dirt Bike Throttle Not Working: What to Check First
LEARN MORELooking for something else?
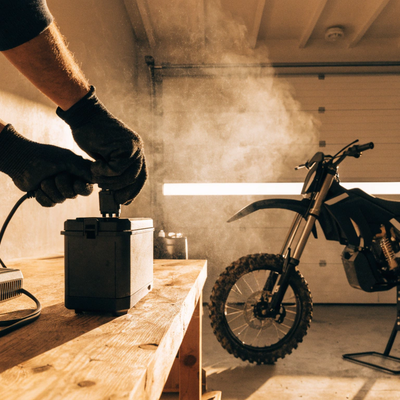
Electric Bike Battery Not Charging? Work Through This Before You Buy a New One
LEARN MORE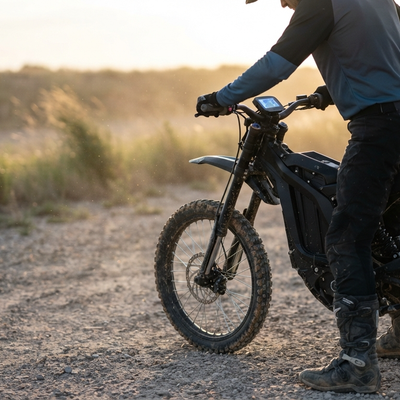
Electric Dirt Bike Error Codes: What They Mean and What to Check First
LEARN MORE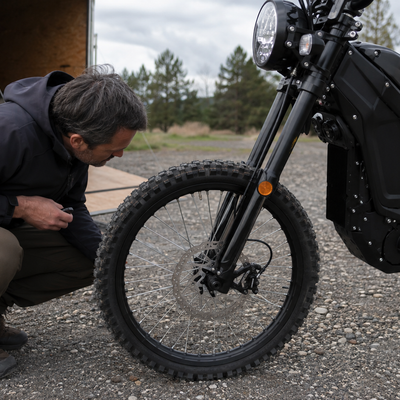
Electric Dirt Bike Brake Rotor Rubbing: Diagnose the Cause Before Adjusting
LEARN MOREYou may also like
Moto eléctrica todoterreno para adultos EM-5 con luz
VALTINSU EM-5 Pro Off-Road Black Electric Dirt Bike
VALTINSU EM-5 Pro Green Electric Dirt Bike
VALTINSU EM-5 Ultra Electric Dirt Bike
VALTINSU EM-5 & EM-5 Pro Combo
Further reading
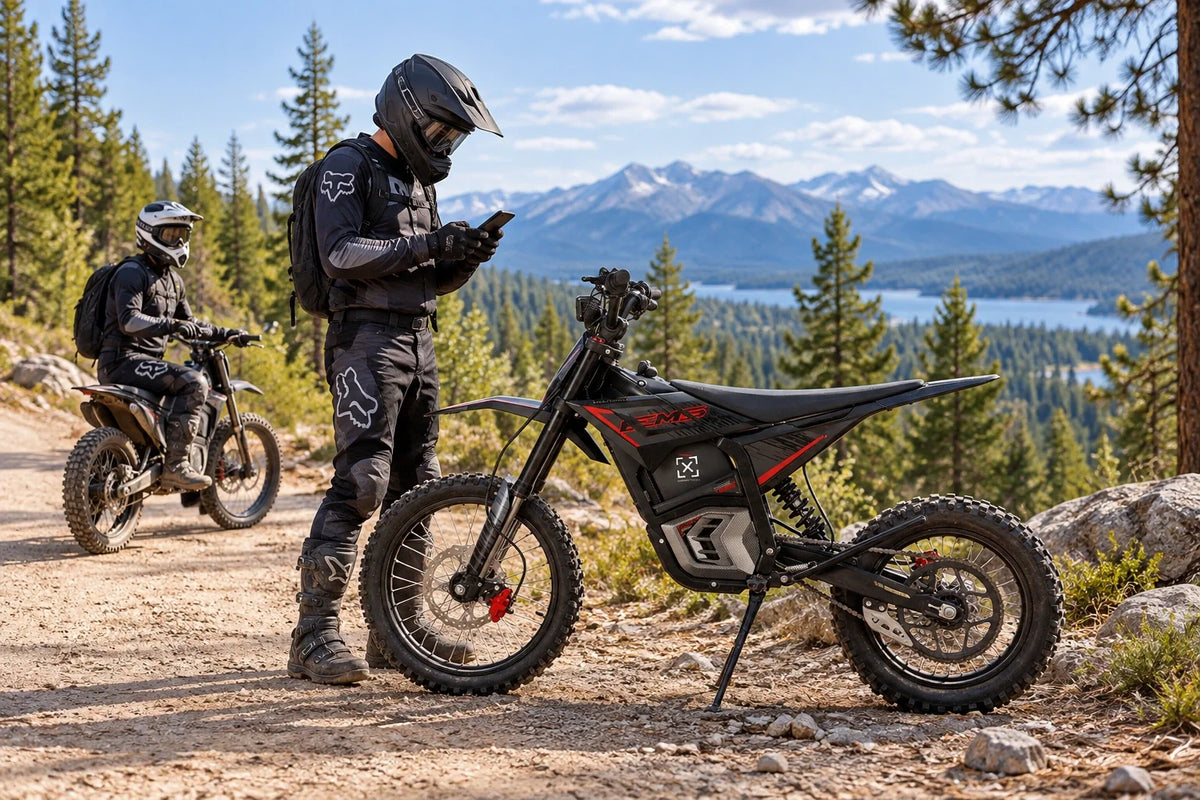
Electric Dirt Bike Trailside Power Loss: Recovery Plan When the Battery Is Dead
Electric Dirt Bike Fall Riding on Wet Leaves: Grip, Hidden Obstacles and Braking
How to Lift a Fallen Electric Dirt Bike Without Hurting Yourself or the Bike