Electric Dirt Bike Brake Fade: Causes, Warning Signs and a Safe Test Method
Brake fade is what happens when the brakes stop giving you the same answer to the same input. You pull the lever the way you did five corners ago and the bike does not slow the way it did five corners ago. On a long descent that is not a nuisance — it is the moment your margin quietly disappears.
This page covers what fade actually is, why electric dirt bikes reach it faster than riders expect, the signs that mean slow down versus the signs that mean stop, and a conservative way to document a change without turning yourself into a crash test.
Valtinsu editorial rule: the moment braking response becomes inconsistent, the test has stopped and the safety decision has started. Cooling may restore feel, but repeatable fade under ordinary use still requires inspection.
Quick Answer
|
Brake fade is a temporary loss of braking consistency that appears as the system heats under repeated or sustained use. It shows up as weaker bite at the same lever force, longer lever travel, a moving friction point, or simply a longer stop. Stop riding immediately if braking becomes unpredictable, the lever approaches the grip, fluid is visible, or the rotor or wheel is damaged. Let everything cool, inspect it, and use the exact brake-component manual before any service. |
What Brake Fade Actually Means
Fade is not one failure with one fix. It is a change in response that develops with heat — and the useful clue is the pattern: it appears under heat, it changes with cooling, and it only reproduces under similar conditions.
That matters because several different problems get casually called "fade." Pad friction can drop at elevated temperature. Fluid behaviour can change lever feel. A contaminated pad feels weak from the very first stop rather than only after heating. Air in a hydraulic line makes a soft lever even when the brake is stone cold. Treat the symptom as evidence to sort, not as permission to guess a component and pour in a fluid you have not verified.
Three patterns riders confuse
|
Pattern |
What it feels like |
What separates it |
|
Friction fade |
Lever feels mechanically normal, but bite drops as pad and rotor heat up |
Lever travel stays consistent — only the deceleration changes |
|
Lever / hydraulic fade |
Lever travel or firmness changes as the system heats |
The lever itself moves further. A lever approaching the grip is a stop-riding condition |
|
Contamination or poor bedding |
Noisy, inconsistent or weak from the first cold stop |
It was never good, so cooling does not restore it. This is not fade |
Why Electric Dirt Bikes Build Brake Heat Quickly
Braking converts the bike-plus-rider's kinetic and potential energy into heat. Two things about that conversion catch riders out.
|
Kinetic energy rises with the square of speed. Going into a corner 30% faster does not add 30% more heat — it adds about 69% more. A descent you have ridden a hundred times becomes a different problem the day you carry a little more speed into it. Thesame relationship governs braking in every vehicle. |
And a long descent adds gravitational energy continuously. There is no single hard stop to recover from — the brakes are absorbing energy the whole way down, often with very little cooling time between applications.
Electric drive does not make brake physics disappear. Some electric platforms offer regenerative braking, but many electric dirt bikes rely primarily on friction brakes. Never assume a model has regen, or that regen will deliver a predictable share of deceleration, unless the exact manual says so. On loose dirt there is a second trap: riders brake more gently to preserve grip, which keeps the pads in light contact for longer and reduces cooling.
|
Heat driver |
What changes |
What to record |
|
Entry speed |
Higher speed adds disproportionately more energy |
Mode, indicated speed, approach point |
|
Slope and length |
Long or steep descents keep adding energy with no recovery |
Grade, surface, descent duration |
|
Rider + load |
More total mass adds energy to every single stop |
Rider mass and carried load |
|
Technique |
Dragging a brake removes the cooling intervals |
Front/rear use and release periods |
|
Ambient conditions |
Heat, mud and low airflow all slow cooling |
Temperature, moisture, contamination |
Total mass belongs on that list for a reason — see how much an electric dirt bike weighs for why rider and cargo often matter more than the bike's own number.
First Decision: Slow Down, Cool Down, or Stop
A change that is small, repeatable and completely gone after a controlled cool-down is useful diagnostic information. It is not proof that continuing to ride is safe. The correct response depends on severity and on whether anything structural or hydraulic is involved.
|
STOP IMMEDIATELY if the lever reaches or nearly reaches the grip, braking becomes unpredictable, fluid is visible, a hose is damaged, the rotor is cracked or badly distorted, or the wheel or axle is not secure. None of these are heat problems that will pass on their own. General guidance for damaged micromobility equipment is published by theU.S. CPSC. |
|
COOL DOWN AND INSPECT if bite falls progressively, the friction point moves, a burning odour builds, or the rotor starts rubbing after repeated stops. Get off the descent, park somewhere shaded and level, and let the system return to ambient before you touch anything. |

|
Do not touch a hot rotor, and never cool one with water. Rapid cooling can distort hot metal, and a rotor holds enough heat to burn skin long after the run ends. Keep cleaners and lubricants away from pads and rotors entirely unless the brake manufacturer specifically approves that product and method. |
After Cooling: A Safe Observation Method
The point of this protocol is to document whether the response changes. It is not to find your shortest stopping distance, and it is certainly not to see how hot you can get a rotor. Run it on private, level ground with a clear run-out — never on a public road or a steep trail.
- Start cold. Verify wheel seating, axle security, tire condition, pad and rotor condition, and normal lever feel. If anything is questionable, do not ride.
- Fix your variables. One low, repeatable approach speed and one braking marker. Full protective gear. People and obstacles clear of the run-out zone.
- Take a baseline. One stop without locking either wheel. Record lever feel, noise and approximate stopping point.
- Repeat a small number of times with consistent spacing and a defined cooling interval. Do not drag the brakes between runs.
- Stop at the first meaningful change. Record whether it affected bite, lever travel, noise, odour, rub or stopping point.
- Let the bike cool completely, then recheck the same static items and compare cold lever feel against your baseline.
|
Do not publish an average stopping distance from this. Without controlled speed, surface, slope, tire, rider mass, brake condition, temperature and method, a tape-measure number is marketing theatre rather than evidence. The same discipline we apply to range testing applies here. |
Reading the Pattern Without Overdiagnosing
|
What you observed |
Likely system area |
Next action |
|
Lever stays firm; bite falls as heat builds |
Pad/rotor friction, glazing, contamination or heat range |
Cool fully, inspect, verify pad and rotor guidance |
|
Lever travel increases with heat |
Hydraulic system, fluid condition, air or heat transfer |
Stop if travel is severe; check for leaks; follow the exact brake manual |
|
Once-per-revolution rub |
Rotor runout or wheel seating |
Inspect wheel seating and rotor; do not keep heat-testing it |
|
Weak or noisy from the first cold stop |
Bedding, contamination, wear or alignment |
Do not call this heat fade — inspect the cold condition |
|
Still weak after full cooling |
Not temporary fade at all |
Stop riding and escalate to service |
These are routing clues, not remote diagnoses. Hydraulic brake systems differ in fluid type, bleed procedure, pad thickness limits and compatible parts. Mixing mineral-oil and DOT-fluid procedures, or guessing a torque value, damages components and creates a genuine safety risk. If the pattern points at hydraulics, see bleeding the brakes; if it points at a rub, see rotor rubbing.
How to Reduce Fade Risk on Real Descents
- Enter the descent with braking margin left over. The rider who arrives at the top slightly slower spends the whole descent making small corrections instead of one late, hard one.
- Brake deliberately, then release. Where traction and terrain allow, distinct applications with genuine release periods let the rotor shed heat. Continuous light dragging never does.
- Bed new pads and rotors properly before hard trail use, following the brake maker's procedure — see how to bed in your brakes.
- Keep rotors and pads clean. Chain lubricant, silicone spray and unapproved cleaners are the fastest way to turn a healthy brake into an unpredictable one.
- Inspect before demanding rides: pad condition, rotor security, hoses, calipers, axles and wheel seating. Pad thickness in particular is easier to check than to regret — see brake pad replacement.
- If fade repeats under ordinary use, stop treating it as technique. That is a service question, not a reason to test harder.
What This Means for EM-Series Riders
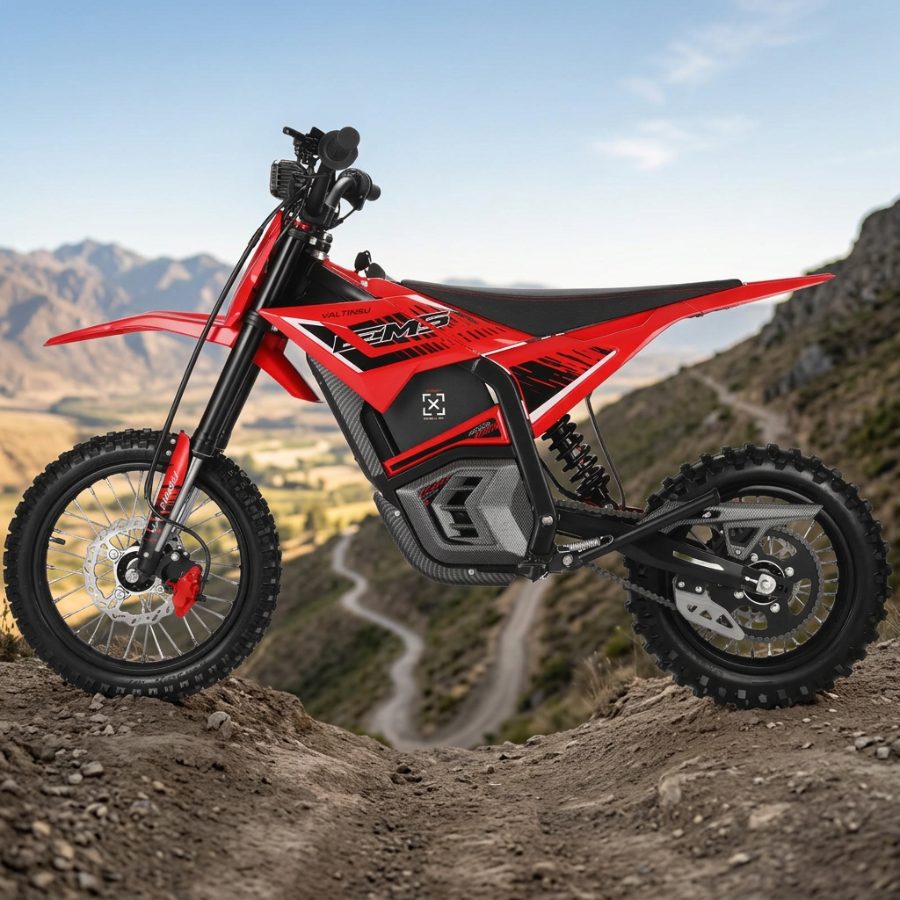
Valtinsu identifies hydraulic braking hardware in its EM-series product materials. No standardized Valtinsu brake-temperature or stopping-distance dataset is published for the current models, so this article does not assign a fade threshold, number of stops or descent length to any EM-series bike. A model-specific claim should include its test conditions and source; without them, treat the number as unverified.
Current product pages also publish model-specific speed and load figures. Those specifications can help frame the amount of energy the brakes may need to manage, but they do not establish a fade temperature, stop count or descent limit. Use dated product information for context, then rely on the installed brake-component manual and qualified inspection for service decisions.
|
Identify the exact brake component before any service work. Before bleeding, replacing pads or applying a torque value, find the component and use its manual. If the information you need is not there, contact Valtinsu support rather than substituting a generic chart from another brand. |
Repeated Brake Fade Requires Inspection
The first response to repeatable fade is to reduce heat demand: shorten the descent, lower entry speed, release the brakes between applications where terrain and traction allow, and stop while braking remains predictable. If the change returns during ordinary use, stop further testing and arrange model-specific inspection rather than trying to prove the symptom again.
Only after the exact brake, pad, rotor and fluid requirements are identified should a component decision begin. A larger rotor or different pad may help in a supported system, but a generic upgrade can create clearance, balance or service problems. The rider's job is to notice the pattern and preserve margin; the component maker or qualified technician owns the repair specification.
FAQs
Is brake fade the same as air in the brake line?
No. Air in a hydraulic system can cause a soft or changing lever even when the brake is cold, while heat-related fade appears after the system warms. Because the symptoms can overlap, compare cold lever feel with the post-descent condition and use the correct component manual. A lever that approaches the grip, a leak or damaged hardware is a stop-riding condition.
Why does the lever feel soft only after a descent?
Heat-related change in the hydraulic system is one plausible explanation, but a remote article cannot confirm it for your bike. Increasing lever travel under heat is the pattern that most deserves caution: stop if the travel is severe, check for leaks or damage, and use the correct hydraulic service instructions. Do not top up or replace fluid without knowing which type the system uses.
Can wet brakes feel like heat fade?
Yes. Water and mud can change friction, noise and lever response, sometimes from the first application, while heat-related fade develops as temperature rises. The patterns can overlap on a wet descent, so record when the change began and whether it remained after full cooling and drying. Stop riding if braking becomes unpredictable.
Should I cool a hot rotor with water?
No. Let the rotor cool naturally and keep hands and contaminants away from the friction surfaces. Sudden cooling may distort hot metal or move contaminants onto the rotor and pads. Park on stable ground, allow adequate cooling time, and inspect hoses, wheel security and visible damage before deciding whether the bike should be ridden again.
When should I contact support?
Contact support when braking remains weak after full cooling, a leak or damaged part is visible, the correct pad or fluid specification is unclear, or the problem returns during ordinary riding. Include approach speed, descent length, number of applications, what changed and when, and the cold recheck. Those details give support or a technician evidence for the next inspection step.
Can a larger brake rotor eliminate brake fade?
No. A compatible larger rotor can increase leverage and heat capacity, but it does not correct every cause of changing brake response. Before changing parts, confirm:
- the model and brake manufacturer permit the rotor size and adapter;
- pads and rotors are correctly bedded, within limits and free of contamination;
- the hydraulic system uses the specified fluid, parts and service procedure;
- repeatable fade occurs during ordinary use and has been documented for inspection.
Sources
- U.S. CPSC — Micromobility Information Center
- NHTSA — vehicle and braking safety
- TEKTRO — hydraulic disc brake owner manuals
- Valtinsu — user manuals
- Valtinsu — electric dirt bike lineup and EM-series specifications


Looking for something else?
Electric Dirt Bike Replacement Parts Availability: What Buyers Should Verify Before Ordering
LEARN MORE
How to Check an Electric Dirt Bike for Safety Recalls by Model and Serial Number
LEARN MORE
How to Choose an Electric Dirt Bike Repair Shop: Questions to Ask Before Service
LEARN MORE
How to Lift a Fallen Electric Dirt Bike Without Hurting Yourself or the Bike
LEARN MORELooking for something else?
Electric Dirt Bike Fall Riding on Wet Leaves: Grip, Hidden Obstacles and Braking
LEARN MORE
Electric Dirt Bike Trailside Power Loss: Recovery Plan When the Battery Is Dead
LEARN MORE